
31 Stunning Farmhouse Christmas Kitchen Decor Ideas You Need to Try This Season

You know the feeling — you have saved forty farmhouse Christmas kitchen photos and still cannot decide what actually goes on the counter. That is not a you problem. That is a too-many-options problem.
So we did the scrolling for you. After filtering through hundreds of options across Target, Walmart, IKEA, Etsy, and HomeGoods, we narrowed it down to 31 ideas that actually deliver — everything from a $12 strand of warm-white string lights to a $2,400 statement range hood. Budget and luxury versions sit side by side, so you can see exactly what the extra money buys.
Inside you will find modern farmhouse, rustic vintage, traditional Christmas, and coastal-natural kitchens, all photographed in real homes. And stay until the end — we break down the most common mistakes that can ruin these looks.
Why now? In 2026 the shift is toward 2700K warm-white LEDs and shopping your own house instead of buying a fresh bin of decor every November. Save this to Pinterest for later — you will want to revisit these ideas. 📌
1. Dark Green Shaker Cabinets Meet Evergreen and Warm String Lights
Strip away the miniature evergreens, the white ceramic houses, the gold pulls — you would still have a good-looking kitchen. Take away the string lights draped straight across the white subway tile and it goes flat. That loose swag of warm-white bulbs is what turns dark green shaker cabinets into something that glows at seven o’clock in December, and it costs about twelve dollars.
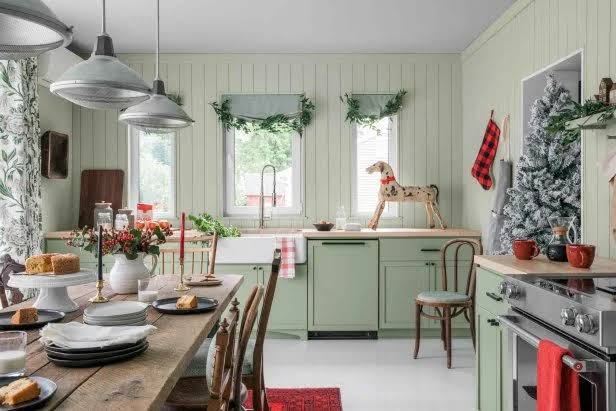
Hang the strand on clear adhesive clips spaced 12 to 14 inches apart so the wire dips between them. A strand pulled tight in a straight line reads like an accident; a soft sag reads intentional. Keep the bulbs at 2700K, because daylight white next to dark green paint turns the cabinets gray-blue and slightly sad. Unplug before bed — mini bulbs sit warm against grout all season.
2. Arched Range Hood Framed in Marble and Brass
The formula here runs roughly 55 percent warm white (hood, backsplash, bottlebrush trees) + 25 percent light natural wood (cabinetry, cutting boards) + 12 percent stainless + 8 percent brass. Swap the brass for matte black and the same kitchen slides industrial; swap the wood cabinets for painted white and it drifts classic. The proportions stay put — only the materials change.
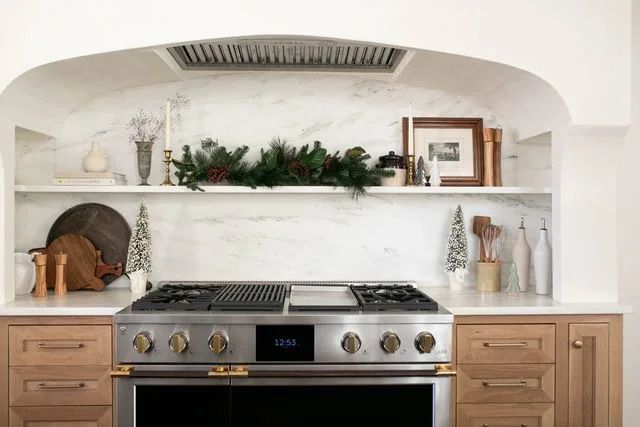
- Pro-style range with brass accents: $1,800–$4,500
- Arched wood hood surround: $900–$2,800
- Marble-look backsplash tile or slab: $400–$1,600
- Floating shelf, brass pulls, hardware: $180–$600
- Garland, bottlebrush trees, wood boards: $90–$350
- Total: $3,370–$9,850
Budget alternative: keep your existing range, tile only the 24 inches directly behind it, and pour the savings into brass hardware and one genuinely good faux garland.
3. A Christmas Tree Built From Gold and Silver Ornaments
- Measure your light wood plank panel and chalk a triangle about 30 inches wide at the base and 40 inches tall.
- Screw small brass cup hooks along both edges, spacing them 5 inches apart, plus one at the peak.
- Hang the largest ornaments at the bottom and taper down to small baubles at the top.
- Top it with a gold snowflake and tuck a chevron box at the base.
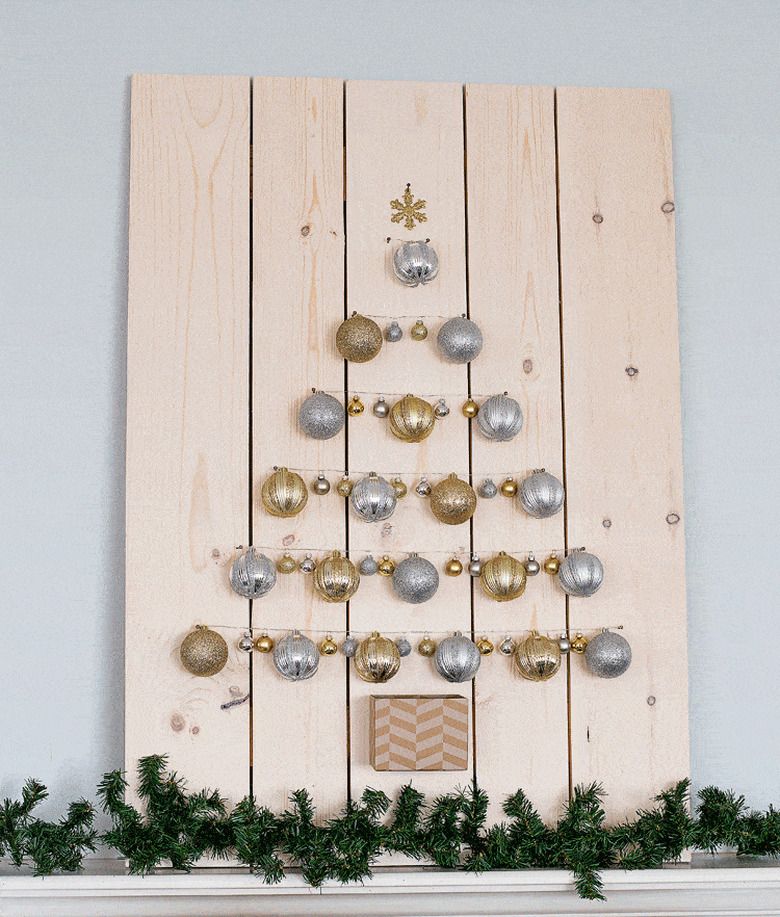
Roughly 90 minutes and $40 in hooks and wire if you already own the ornaments.
Two principles are doing the heavy lifting. Repetition: forty round shapes in only two finishes read as one object instead of forty objects. Then scale contrast — the tiny box at the base makes the tree feel bigger than it is. It also solves a real problem, since there is no floor space, no watering, and no needles. Compare with Idea #12, where the same wood-and-green palette goes much quieter.
4. White Island, Wooden Bowl, Red Plaid Christmas
Fresh pine branches in an open wooden bowl are gorgeous for about nine days. Then the needles drop into your dark countertop seams and the red berries leave little juice rings you will be scrubbing in January. If the island is where your family actually eats, go faux inside the bowl and save the fresh stuff for a spot nobody reaches across — or line the bowl with a shallow glass dish you can lift out and rinse.
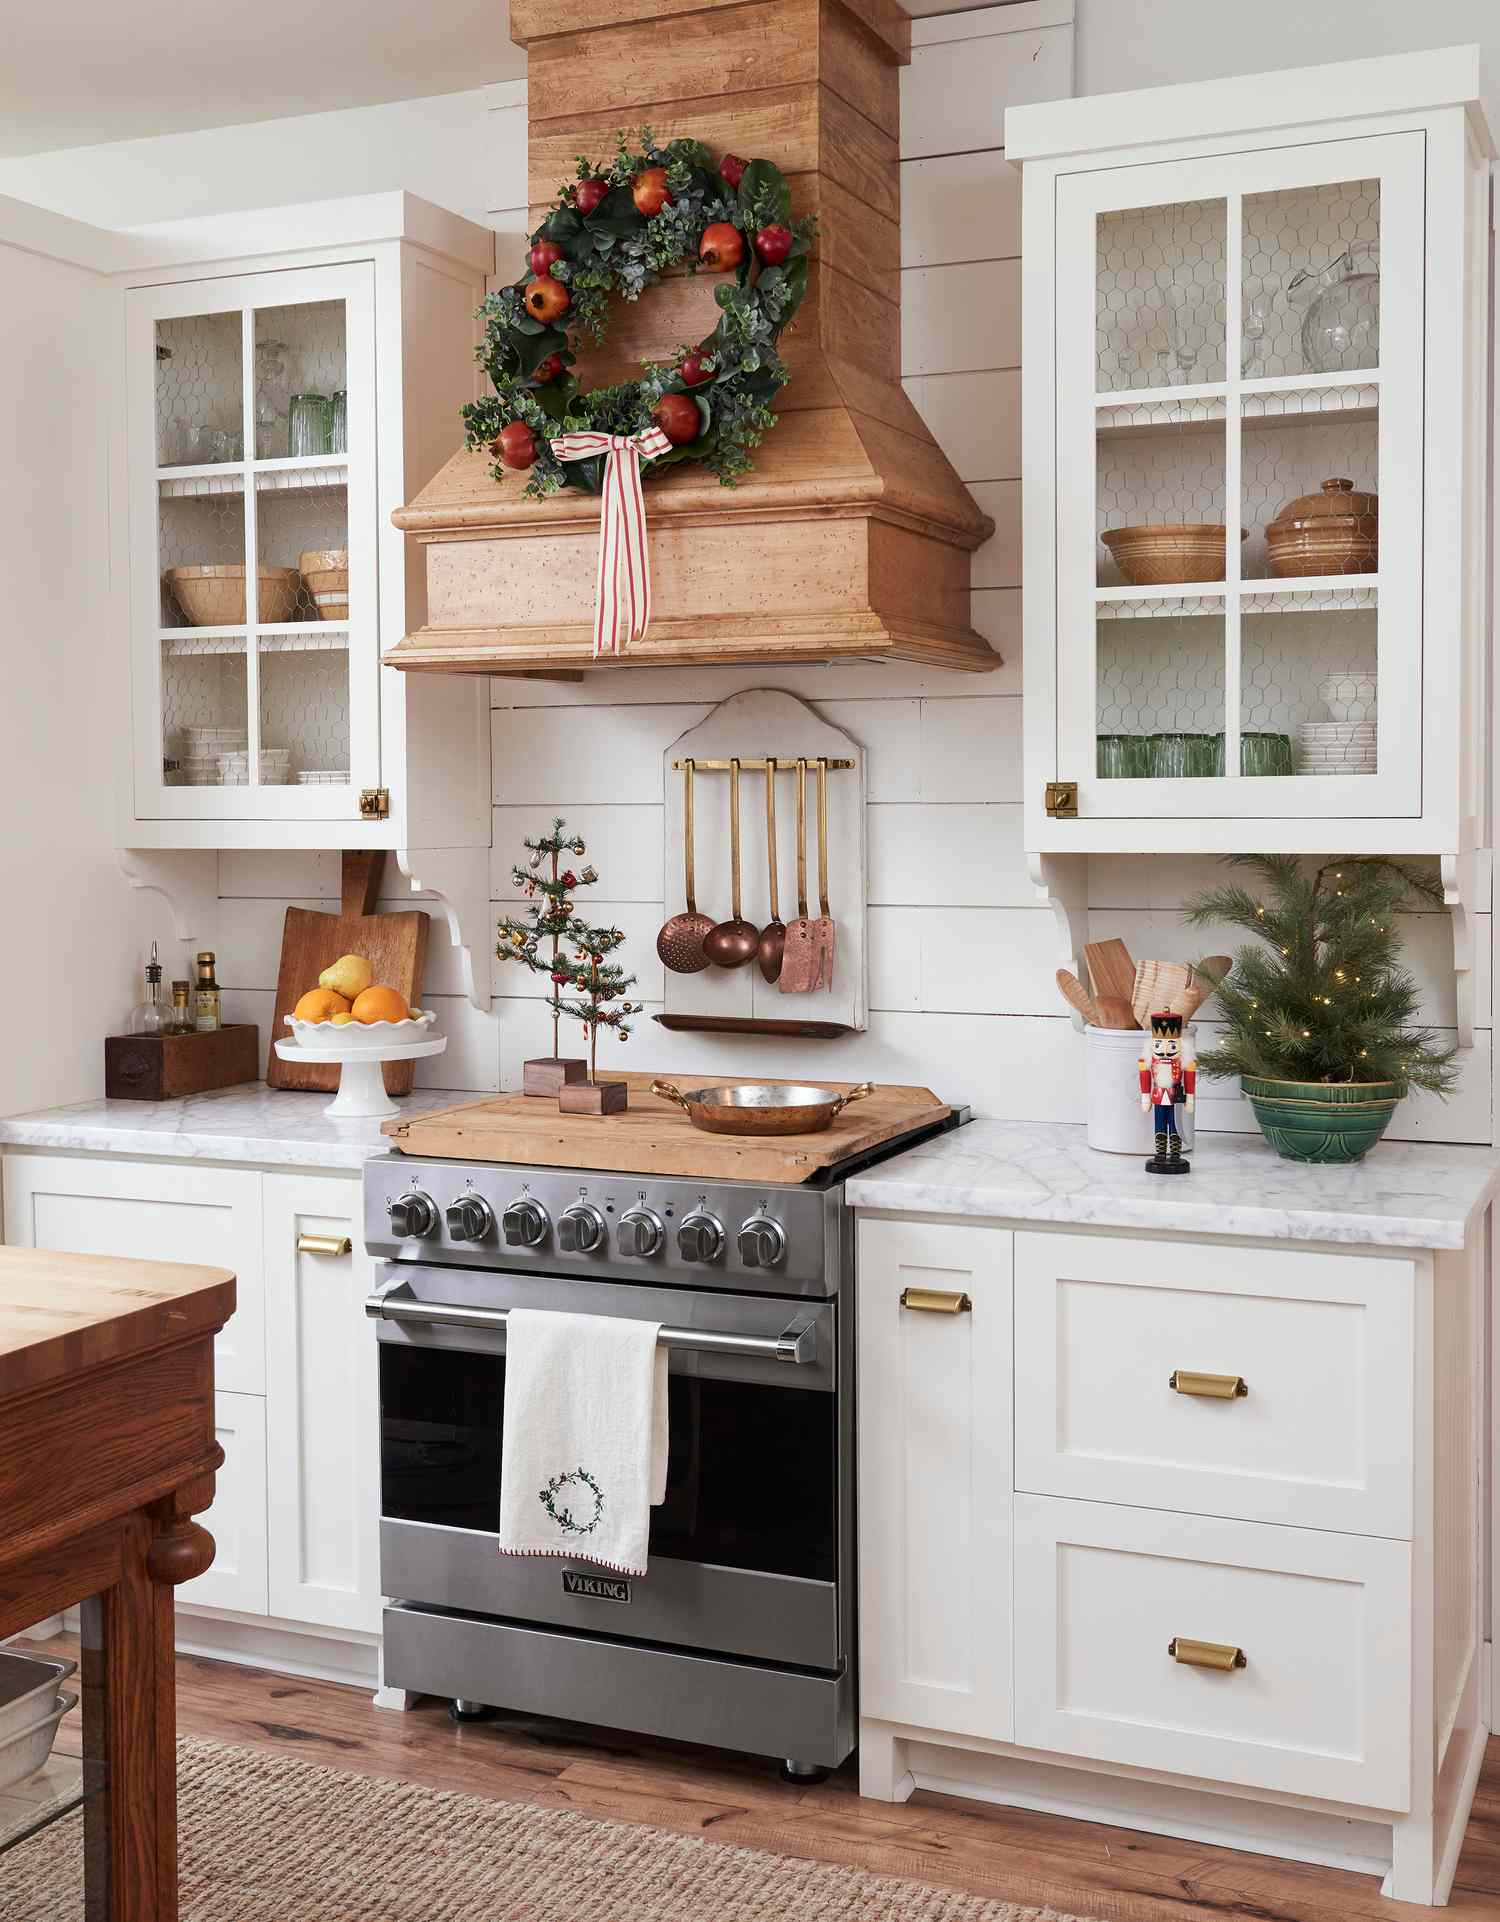
Count the palette: 70 percent white (island, cabinetry, subway tile) + 15 percent forest green + 10 percent natural wood + 5 percent red. That tiny red slice is why a plaid mug and a striped towel are enough to carry the whole holiday. Want a cooler read? Hold the proportions and swap red for navy, or drop red entirely and go deeper on the green.
5. Six Linen Stockings Hung Above the Backsplash
Stockings hung over a backsplash need a plan. Keep the bottom edge at least 18 inches above the counter so nobody drags a sleeve through the butter dish, and use a slim tension rod or cup hooks screwed into the cabinet underside — never tape, which gives up on the third humid morning. Choose linen or quilted cotton instead of chunky knit if the range is anywhere nearby; knit grabs airborne grease and holds it.
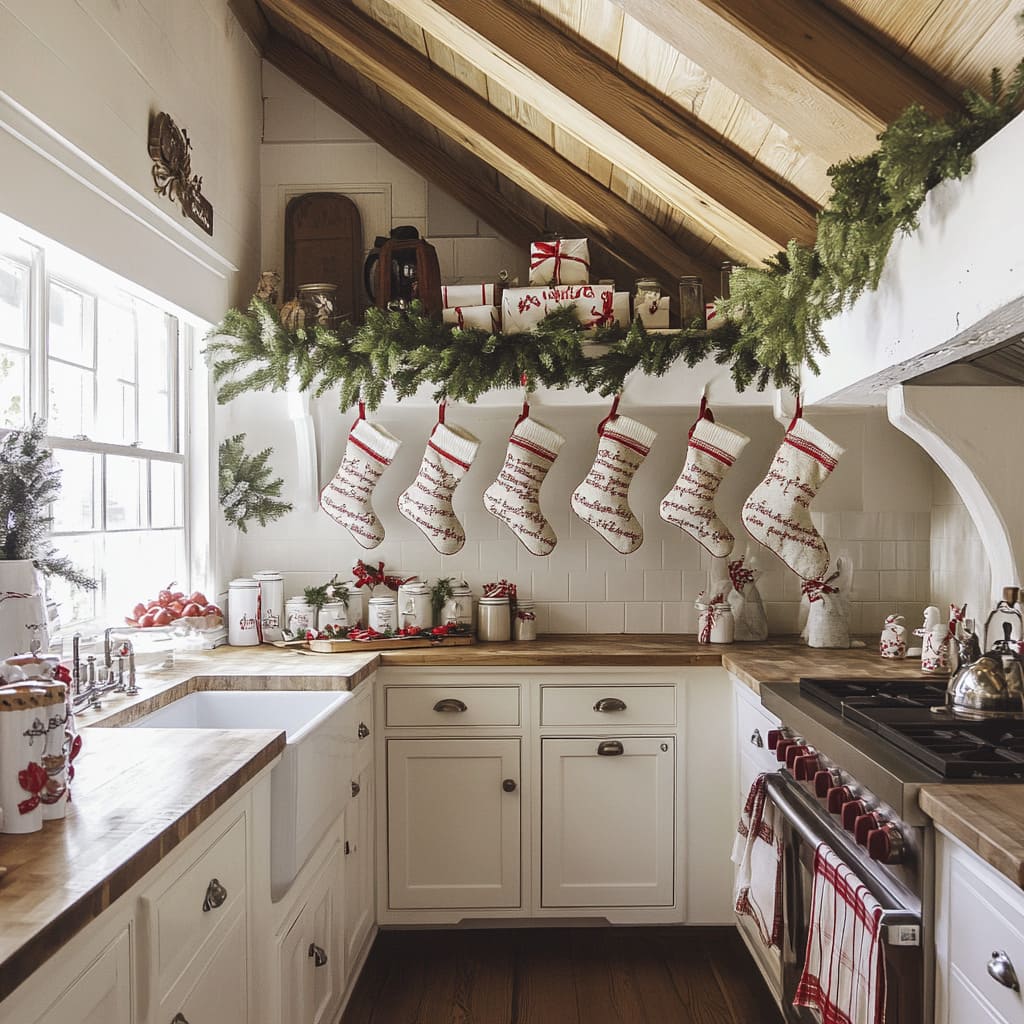
This only works with a long, uninterrupted wall. You want at least 8 feet of clear backsplash to hang six stockings without crowding, and 30 inches minimum from countertop to the bottom of the upper cabinets. In a galley under 8 feet wide, hang three on one side, or move the whole run to a stair rail where the distance is longer.
6. Distressed Wood Hutch Full of White Ceramic Houses
The hutch itself is lovely, but the thing that makes this corner work is that the white ceramics sit at eye level inside the glass-front uppers, lit from the kitchen side. Move them down to the countertop and the display loses its glow entirely. If you change one thing about a wooden hutch, change what lives on the middle shelf — that is the shelf people actually see when they walk in the door.
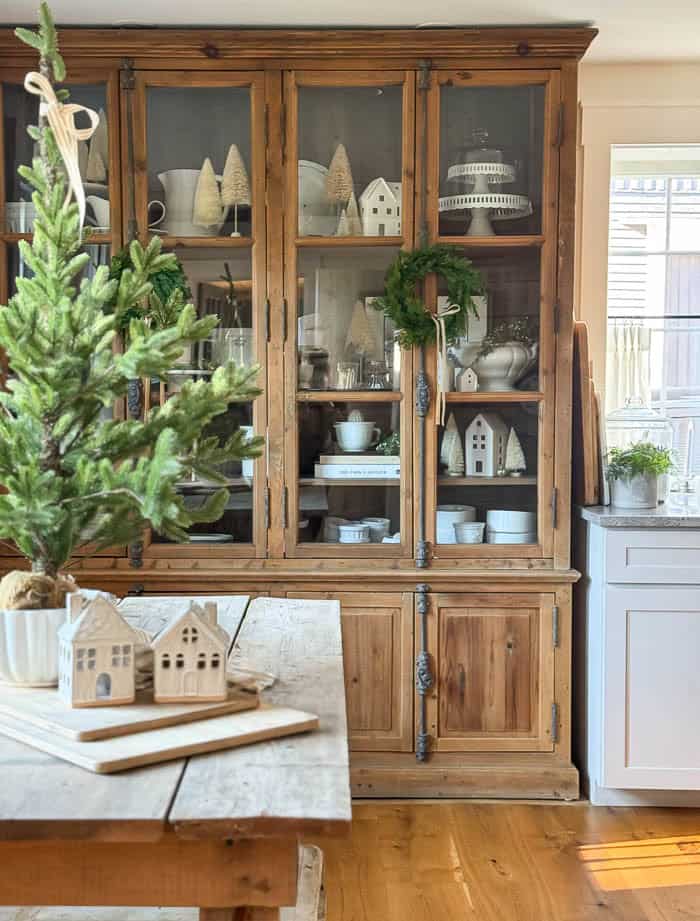
A hutch like this runs $600 to $1,800 new. On Facebook Marketplace they turn up for $80 to $250, usually because someone is downsizing a dining set. Thrift stores price white ceramic houses at $3 to $8 each, and you need about nine to fill those shelves. Done secondhand, the whole look lands around $180 to $340. See the same collection styled on a counter in Idea #26.
7. Charcoal Shiplap Island with Twig Stars and Lit Garland
Dark shiplap on the island against white shaker cabinets is a contrast play — the island reads as furniture rather than built-in cabinetry. The twig stars, the rustic ceiling beam, and the wood hood cover all repeat that same rough texture, so nothing feels like an afterthought. And the lit garland adds warmth right at the height your eye travels when you walk into the room.
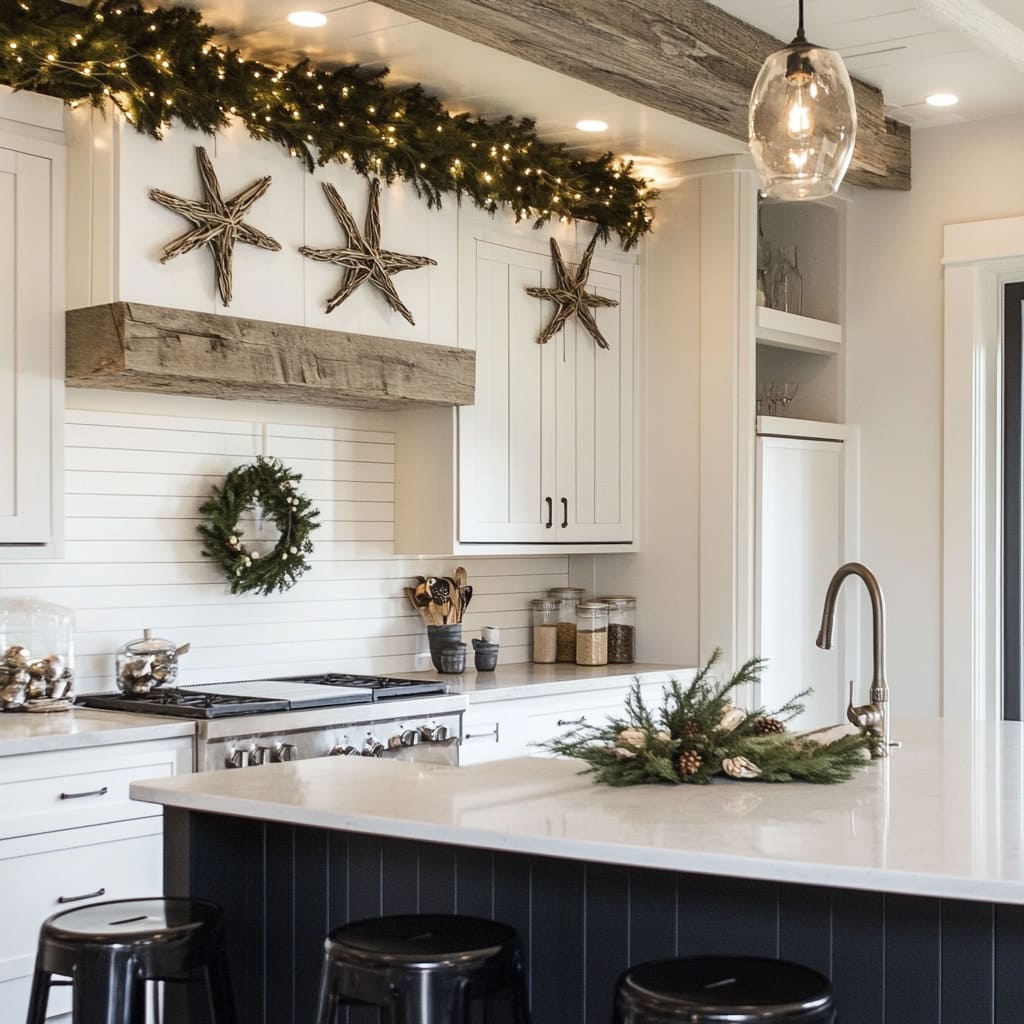
Shiplap grooves collect kitchen dust, and it is the kind of dust that turns faintly sticky. Plan on a damp microfiber cloth and a soft brush every two to three weeks during the holidays. Faux garland with lights needs a yearly going-over, and battery versions run about $12 to $20 per season in batteries — or spend once on a plug-in strand with a built-in timer and never think about it again.
8. Open Dark Shelves Dressed in Red Berries and Satin Bow
Break this display down and it is 40 percent dark wood + 30 percent red + 20 percent cream + 10 percent green and silver. Notice the reds are not all the same red. The bow is a saturated satin, the berries are deep crimson, the plates carry a softer floral red — and that variety is exactly why it reads collected rather than purchased.
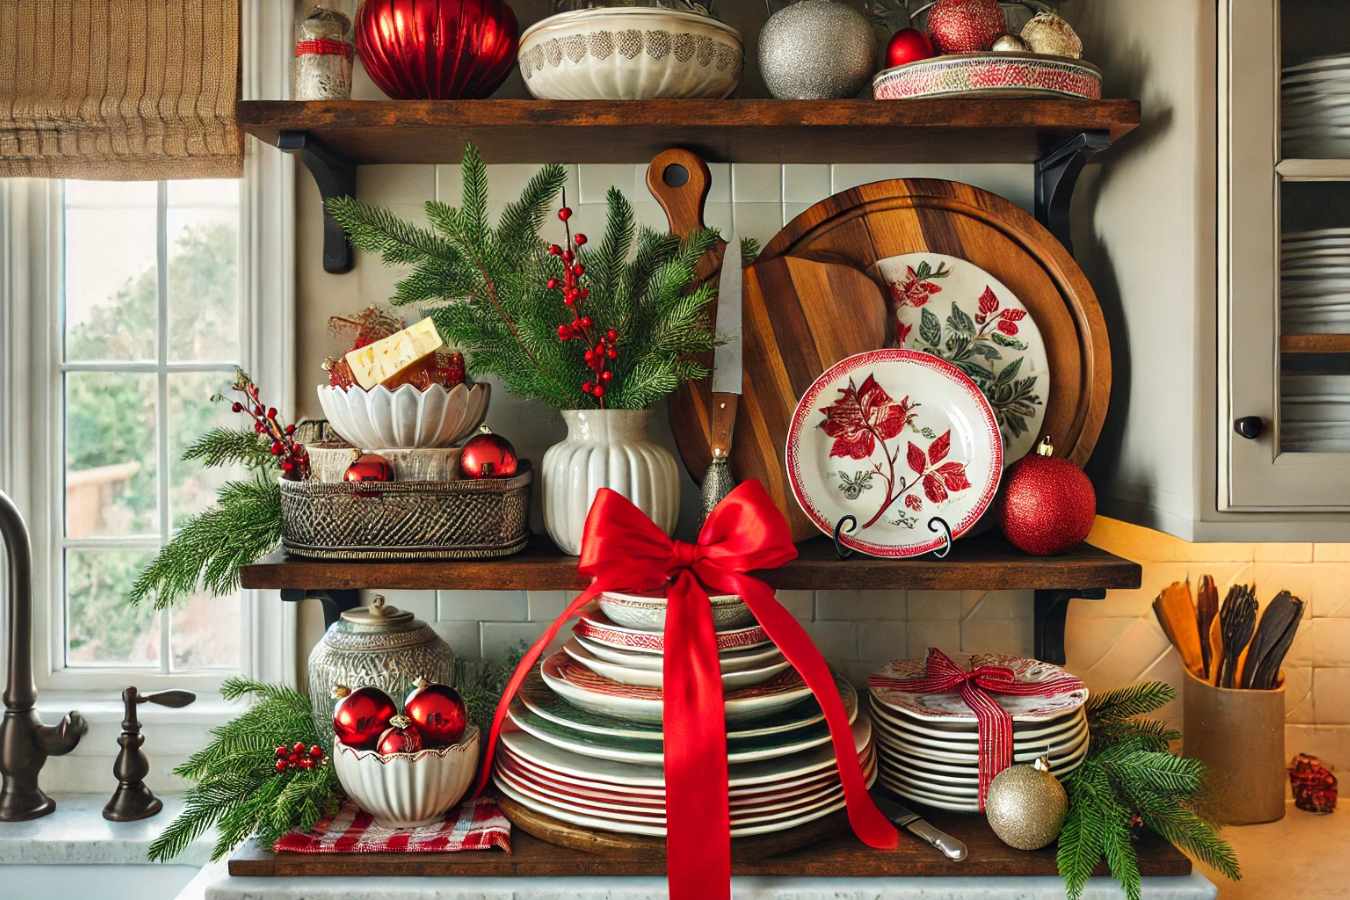
The loaded, abundant shelf is having a real moment. It is a pushback against the white-minimal Christmas that ruled for a decade; saves for collected and maximalist holiday shelves keep climbing, because the look photographs with real depth. It also has staying power, since it is built from things people already own — plates, bowls, branches, a single good ribbon.
9. Shiplap Island with Three Dark Wood Stools and One Simple Garland
Three stools need about 6 feet of island, which means the island itself should run 7 to 8 feet so nobody’s elbow sits on the edge. Hang the clear glass pendants 30 to 36 inches above the countertop; this setup has them right around 33. And leave 36 to 42 inches of walking space between the island and the perimeter cabinets. Smaller footprint? Scale down to two stools and a single pendant.
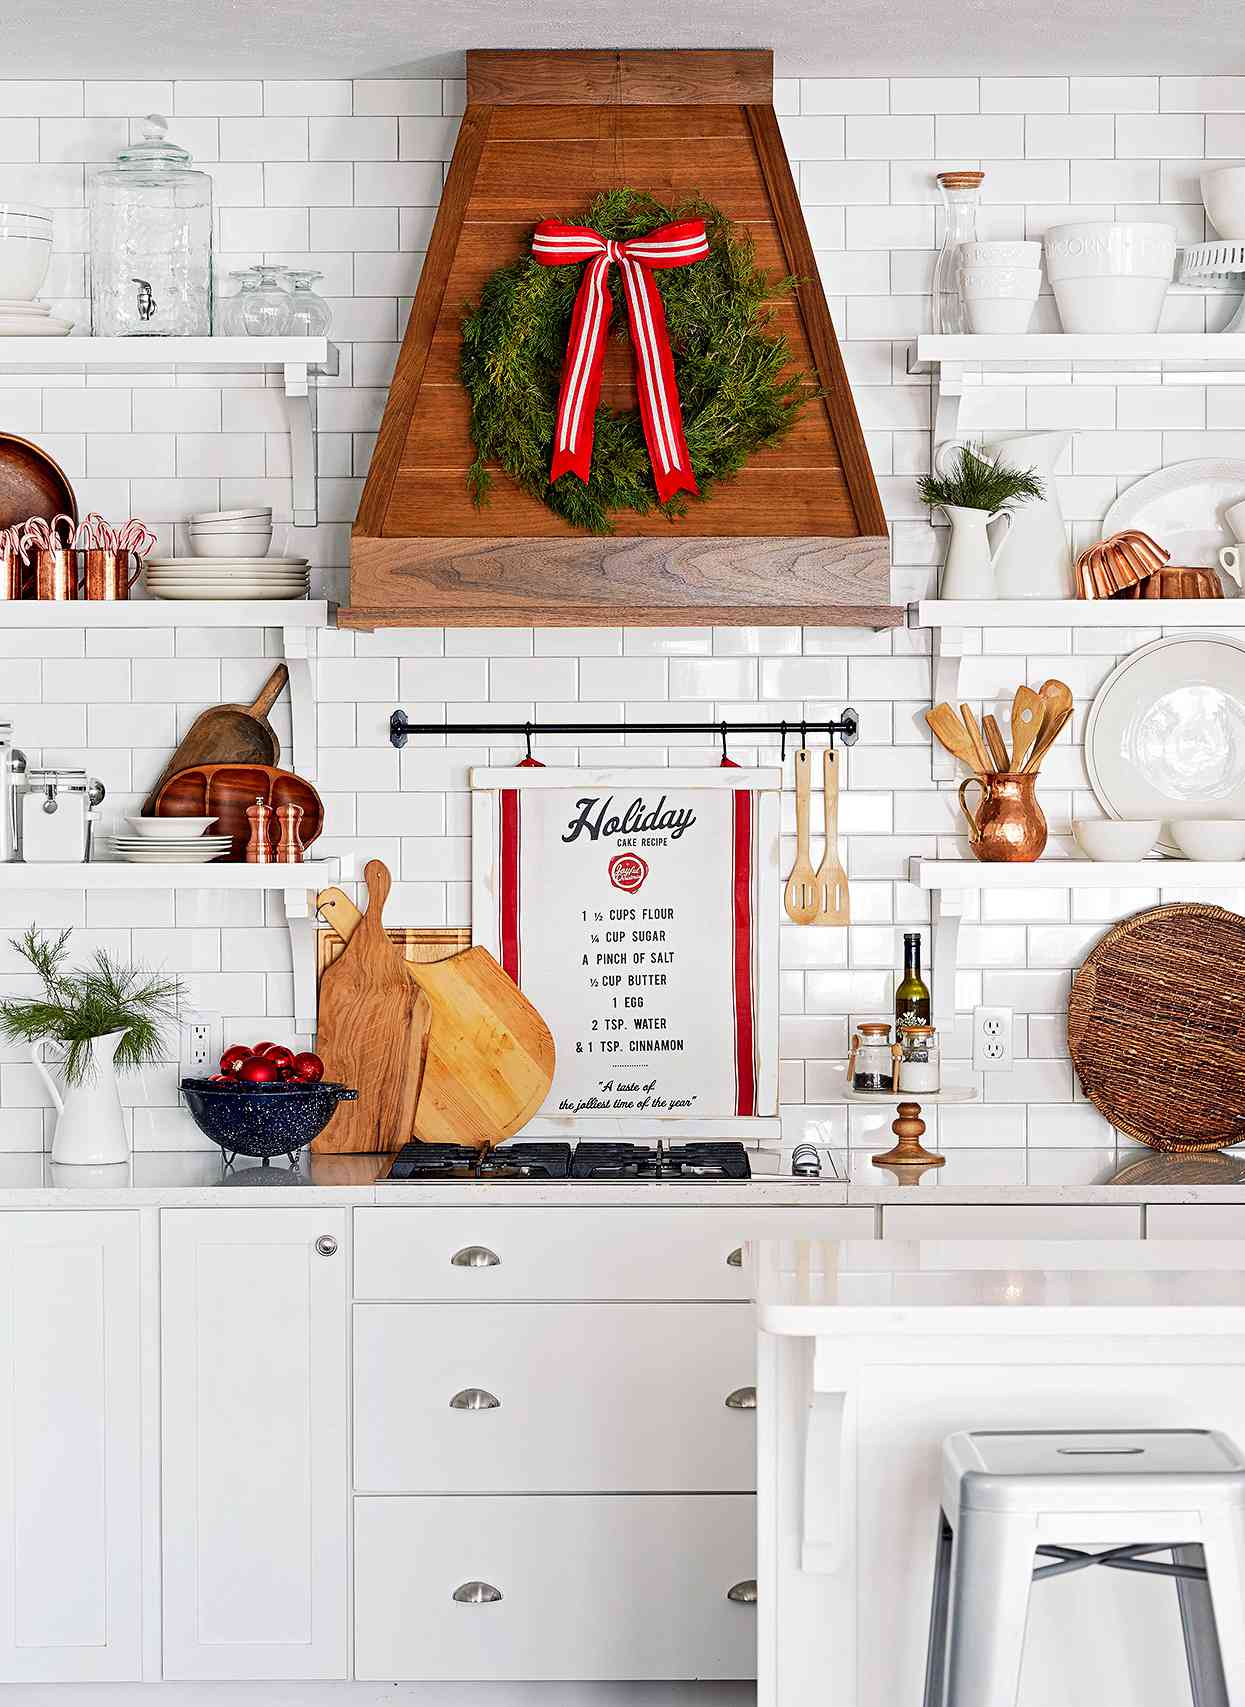
A simple garland’s biggest enemy is length. On a kitchen island, keep it to roughly one third of the island’s length — 30 to 36 inches here — or it starts reading as a runner and swallows useful countertop. Skip the full swag around the base unless you genuinely never prep food there, because greenery near a working surface collects flour and grease faster than you would believe.
10. Marble Island, Copper Pots, Herringbone Backsplash
- Marble-top island or marble-look quartz: $1,200–$4,000
- Custom dark grey and wood hood: $1,400–$3,500
- White herringbone tile backsplash: $350–$1,200
- Copper hanging rail and pots: $180–$650
- Exposed wood beams and cross-back stools: $400–$1,800
- Total: $3,530–$11,150
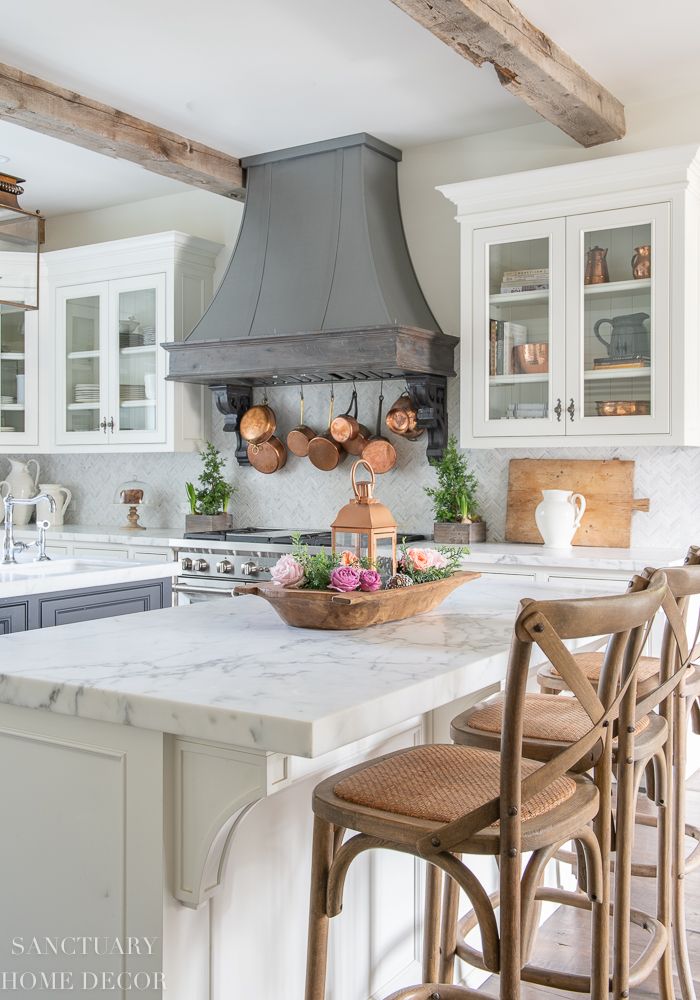
Budget alternative: keep your cabinets, add a herringbone-look peel-and-stick tile, and hang three copper pots from a $25 ceiling rack. That is the 40 percent version, and it reads close from the doorway.
Three things make this work. Herringbone laid vertically pulls the eye up and makes a standard ceiling feel taller. Copper is the only warm metal in a very cool room, so it reads as jewelry rather than clutter. And the wooden dough bowl sits low, keeping the island sightline open instead of blocking conversation.
11. A Sculptural Wine Rack Wearing String Lights
- Wipe the rack down and check that no bottle is corked loosely or overfilled.
- Wrap a warm-white LED strand bottom to top, looping once per shelf rather than spiraling tight.
- Tuck faux greenery into the gaps between bottles — front row only.
- Clip three or four small gold ornaments to the greenery with wire picks.
- Plug into a smart plug so it comes on at dusk without you crawling behind the counter.
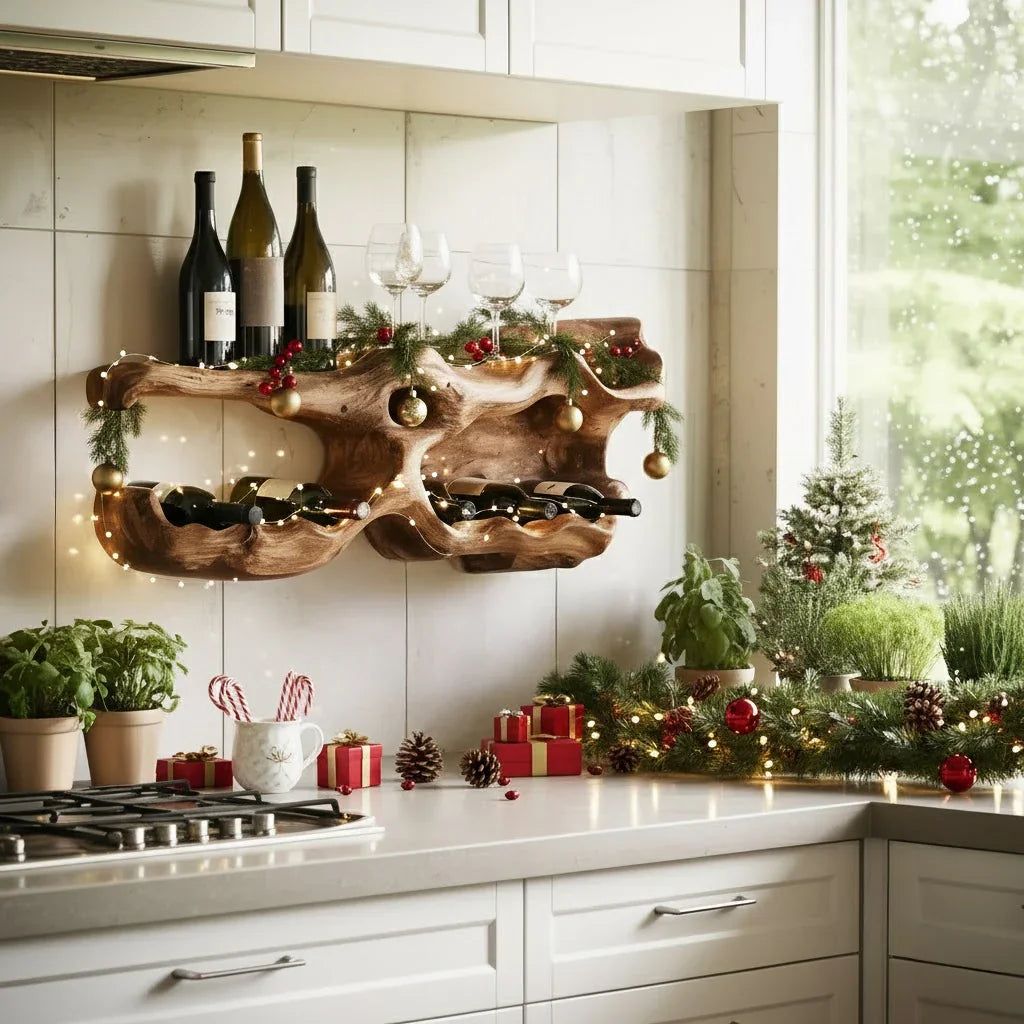
About 45 minutes and $25 in lights and picks.
Two warnings. Heat rises, so incandescent mini lights pressed against wine bottles are a genuinely bad idea — stick to LEDs that stay cool. And this rack should hold the bottles you actually drink, not the ones you are aging, because light degrades wine over months. Lay down bottles in a dark cupboard and let this be decor with a couple of everyday reds.
12. Minimalist Wooden Trees and a Brass Bell Garland
This is 55 percent white + 25 percent evergreen garland + 20 percent wood in three tones — muted beige, natural oak, terracotta. Nothing here is red, nothing is shiny, and that is the entire point. Want it warmer? Add one more brass element, since the bells already count. Want it cooler? Swap the terracotta tree for a pale grey one and the mantel goes full Scandinavian.
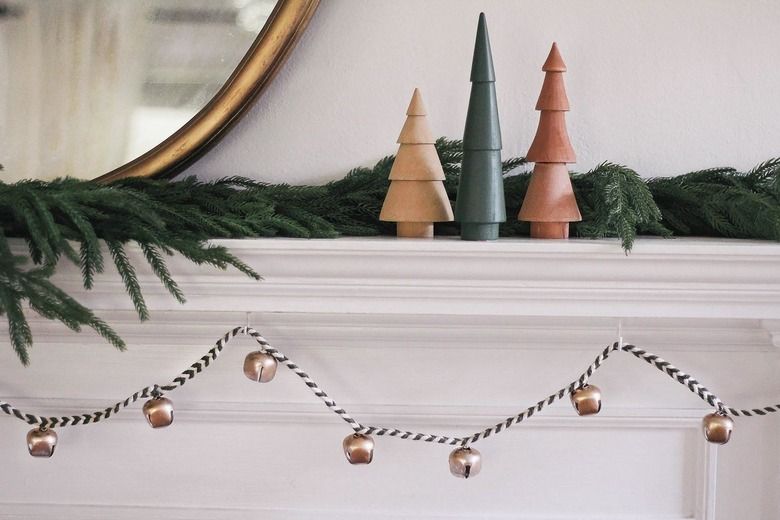
- Measure the mantel width first — three trees need 30 to 40 inches of clear surface.
- Check where the mirror sits relative to the tallest tree; it should stop below the mirror’s bottom edge, not overlap it.
- Confirm an outlet or hidden battery pack behind the garland.
- Pick heights before you shop: roughly one third, one half, and two thirds of the mirror’s height.
13. Floral Centerpiece with Red Berries on a Dark Island Top
Centerpiece math saves you every single time: keep it under 12 inches tall and under one third of the island’s length. On a dark countertop, use white and cream flowers as your light source, because dark berries on a dark top disappear from across the room. Cluster the ceramic houses in a group of three at one end rather than lining them up — asymmetry is what keeps it from looking like a shelf display.
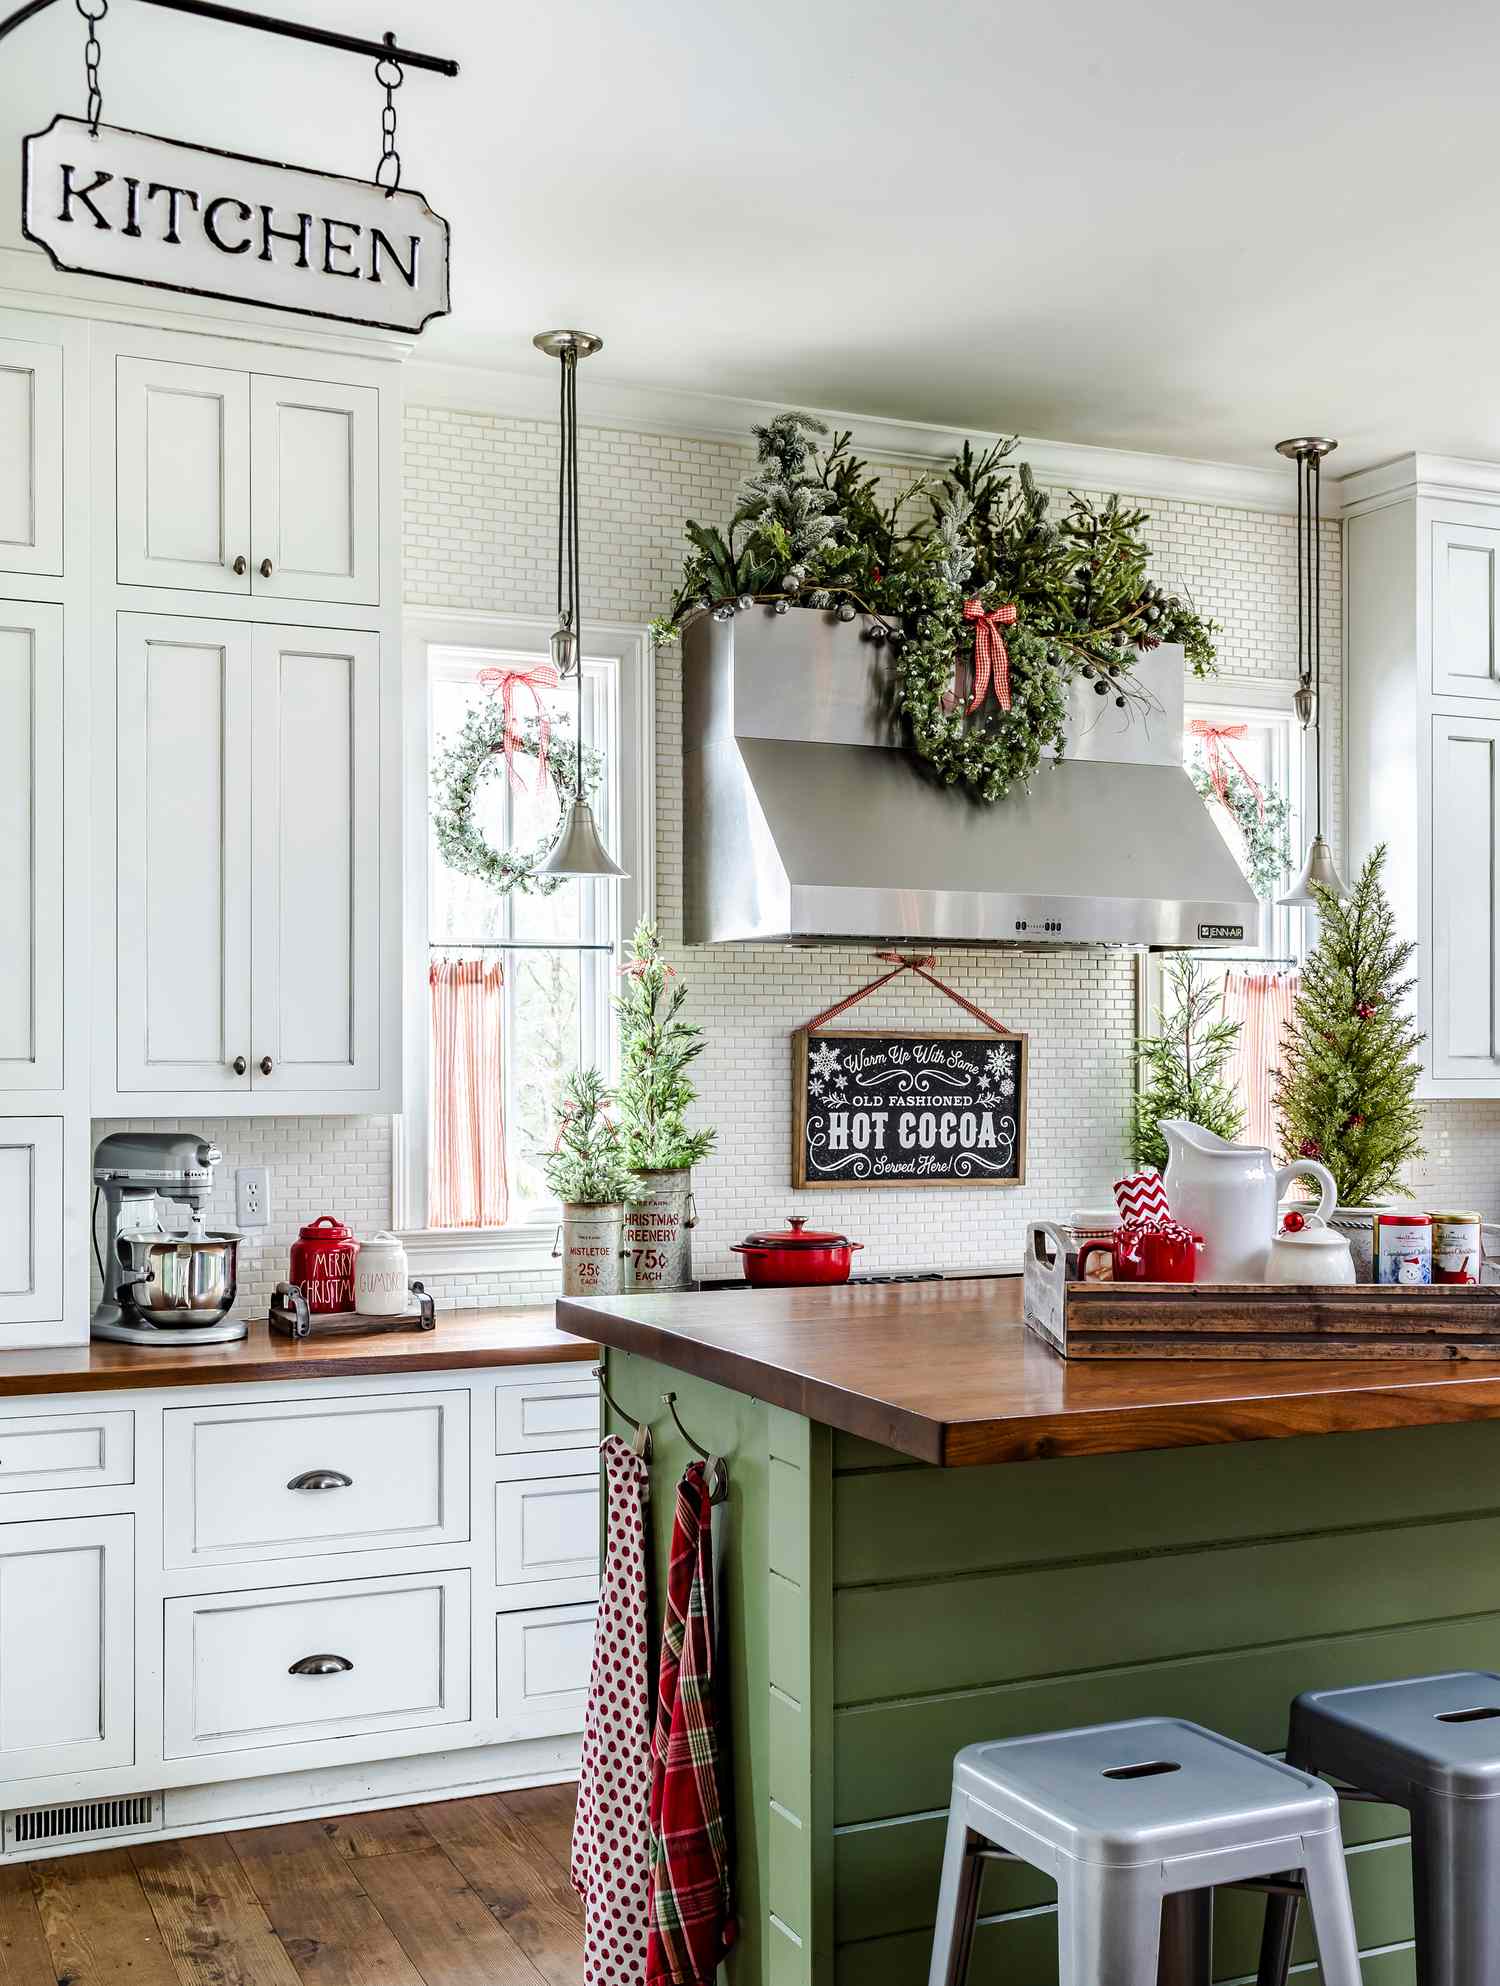
A florist arrangement like this runs $75 to $150. A $12 grocery store bouquet of white mums plus a $4 bundle of berry stems gets you 85 percent of the look. Ceramic houses run $8 to $20 at Target and Walmart, sometimes $2 at a thrift store in January. Total spend, about $35 — same palette, same energy as the island in Idea #4, just a smaller footprint.
14. Open Plan Dining with Wishbone Chairs and a Tiny Village
For an open plan to feel connected rather than crowded, keep 36 to 42 inches between the dining table’s edge and the island. The rug should extend 24 inches past the table on every side. With beams overhead you want a minimum 8-foot ceiling and beams hung no lower than 7 feet 6 inches. In a 400 square foot open plan, a 72-inch table seats six without elbows touching.
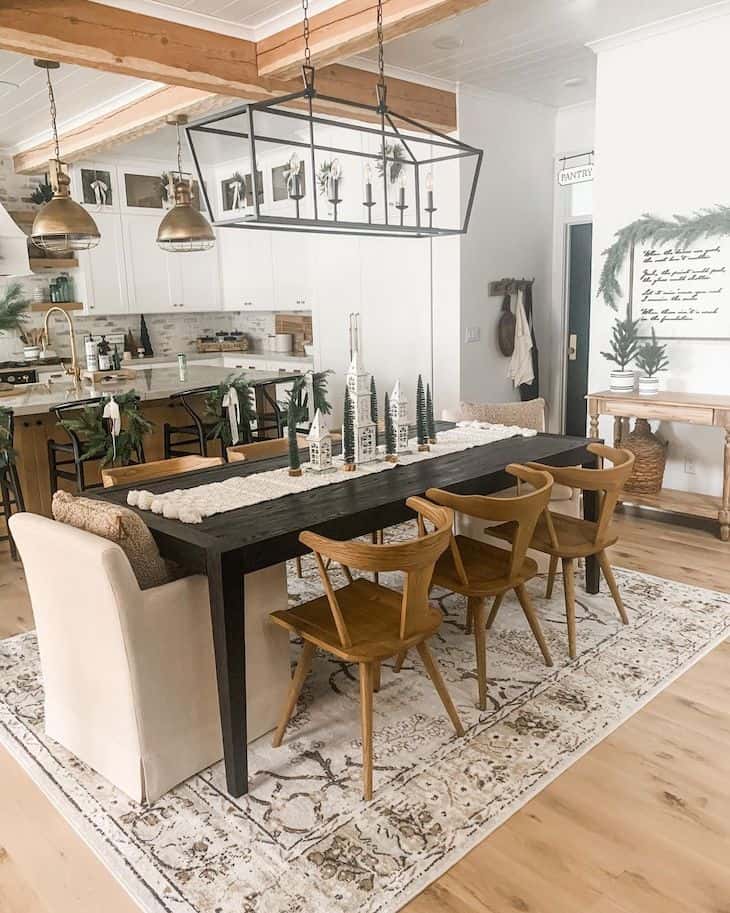
The miniature white village houses, scattered across both the table and the kitchen counter, are the thread stitching two rooms into one. Without them this is a dining room that happens to sit beside a kitchen. With them, your eye travels the whole space and reads a single decorated home — which is exactly what makes open-plan holiday decorating work at all.
15. Woven-Seat Stools and a Mini Tree in a Basket
A live mini tree in a woven basket looks effortless and is not. Baskets wick water, so you need a plastic liner pot inside. The tree will drop needles in a dry room, and a kitchen is always dry — mist it every other day. Red berries on a dark countertop need a small plate underneath, or you will find faint juice rings in February. Faux gets you the same photograph with none of the follow-up.
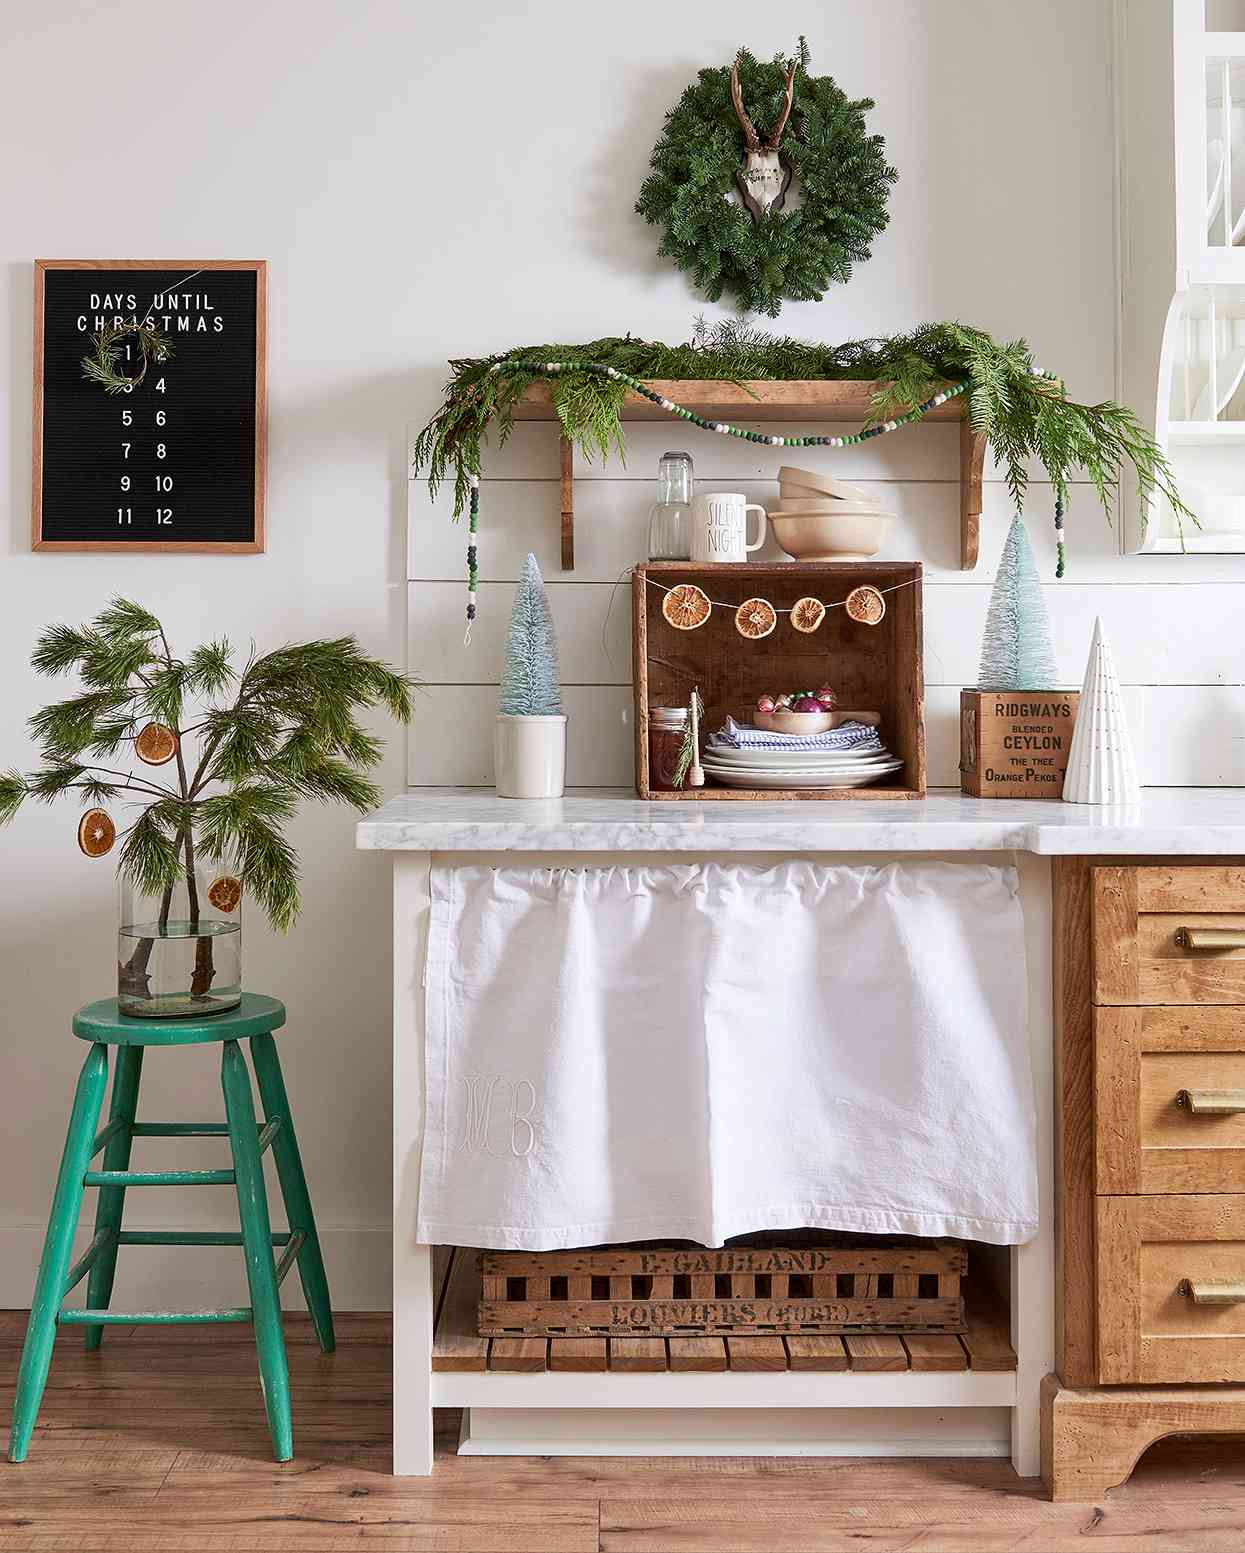
- Two wooden barstools with woven seats: $180–$500
- Mini evergreen in a woven basket: $25–$60
- Red berry stems and garland: $12–$40
- Three white ceramic houses: $15–$45
- Striped tea towel and small accents: $10–$30
- Total: $242–$675
Budget alternative: Marketplace sells woven-seat stools in pairs for $60 to $120, and dollar-store berry stems look fine once you bend them into shape.
16. Stacked Cutting Boards and a Lighted Ceramic Tree
Under-cabinet lighting is the quiet hero here, but marble-look counters hate citrus and berries. Leave a berry on the surface overnight and you may come back to a dull etch. Wipe spills within a few minutes. The ceramic light-up tree needs an outlet or batteries, and battery versions eat two to four AAs a month when run nightly, so a rechargeable set pays for itself before New Year’s.
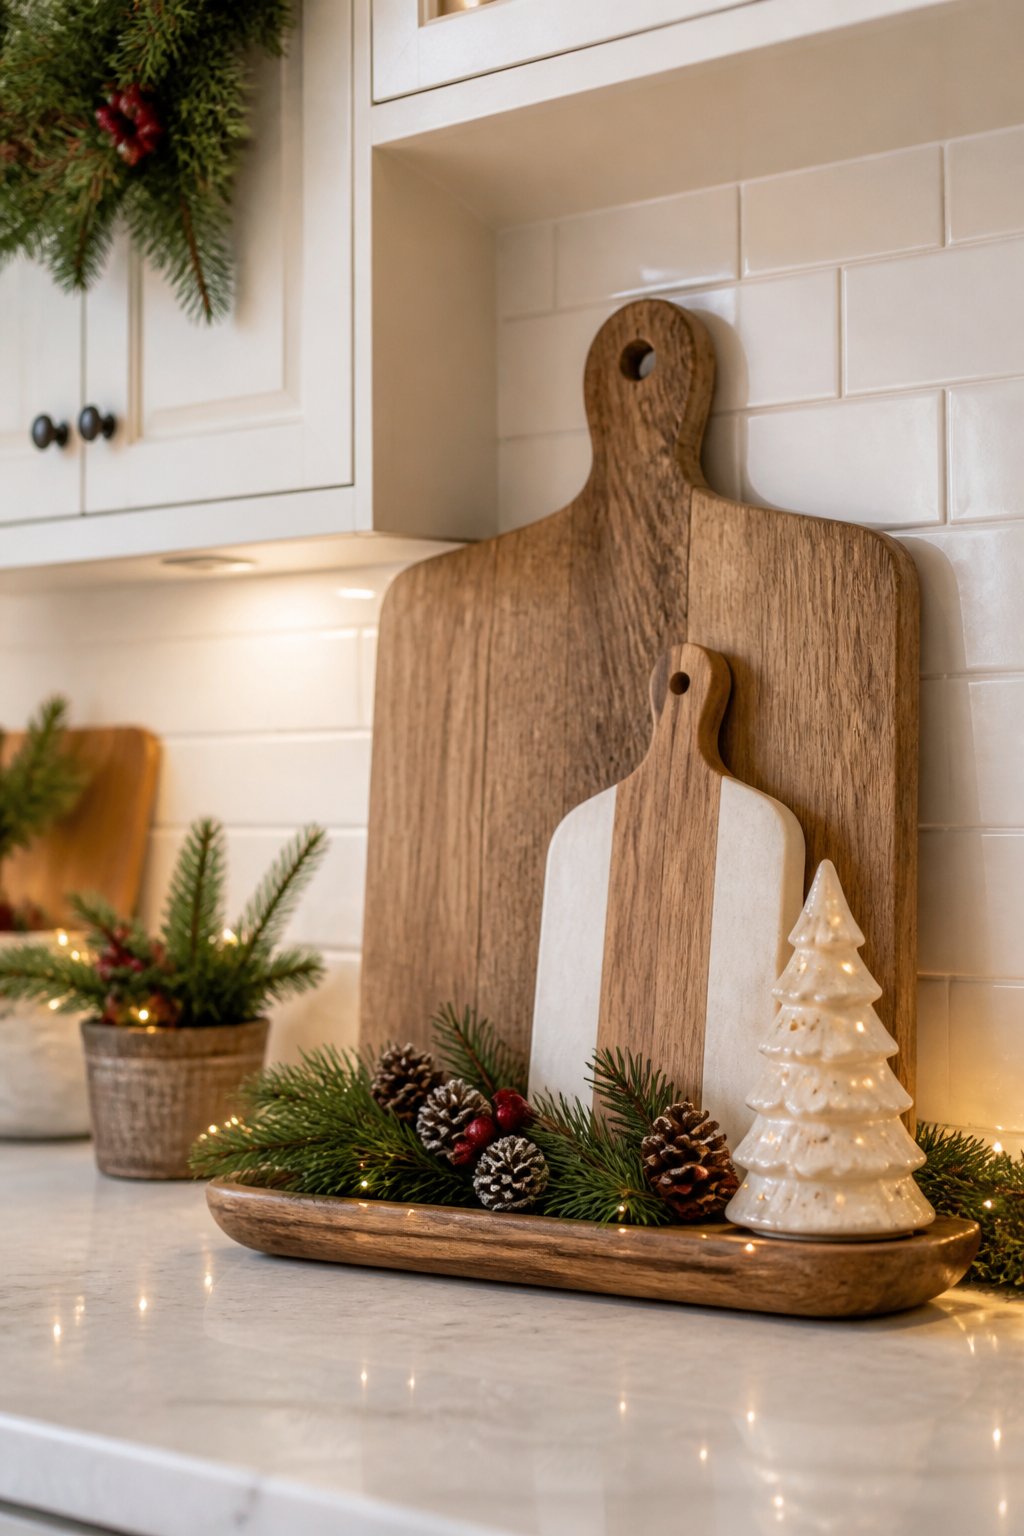
- Start with three cutting boards, leaning, largest at the back and slightly offset.
- Set a shallow wooden tray in front and line it with a folded linen napkin.
- Lay evergreen sprigs across the tray, then tuck in three pinecones and two berry stems.
- Coil a short mini-light strand through the sprigs and hide the battery pack behind the boards.
- Finish with the ceramic tree at one end, never dead center.
Twenty minutes, about $30 if you own the boards.
17. Seashells and Starfish Tucked Into Evergreen Garland
Coastal Christmas has quietly become a real category, and it makes sense. A growing share of holiday decorating happens in warm-weather states, and shell-and-evergreen garlands photograph like a dream against cream tile. Unlike most novelty themes, this one has legs, because it is really just a natural-materials palette with one unexpected element — a formula that never ages badly.
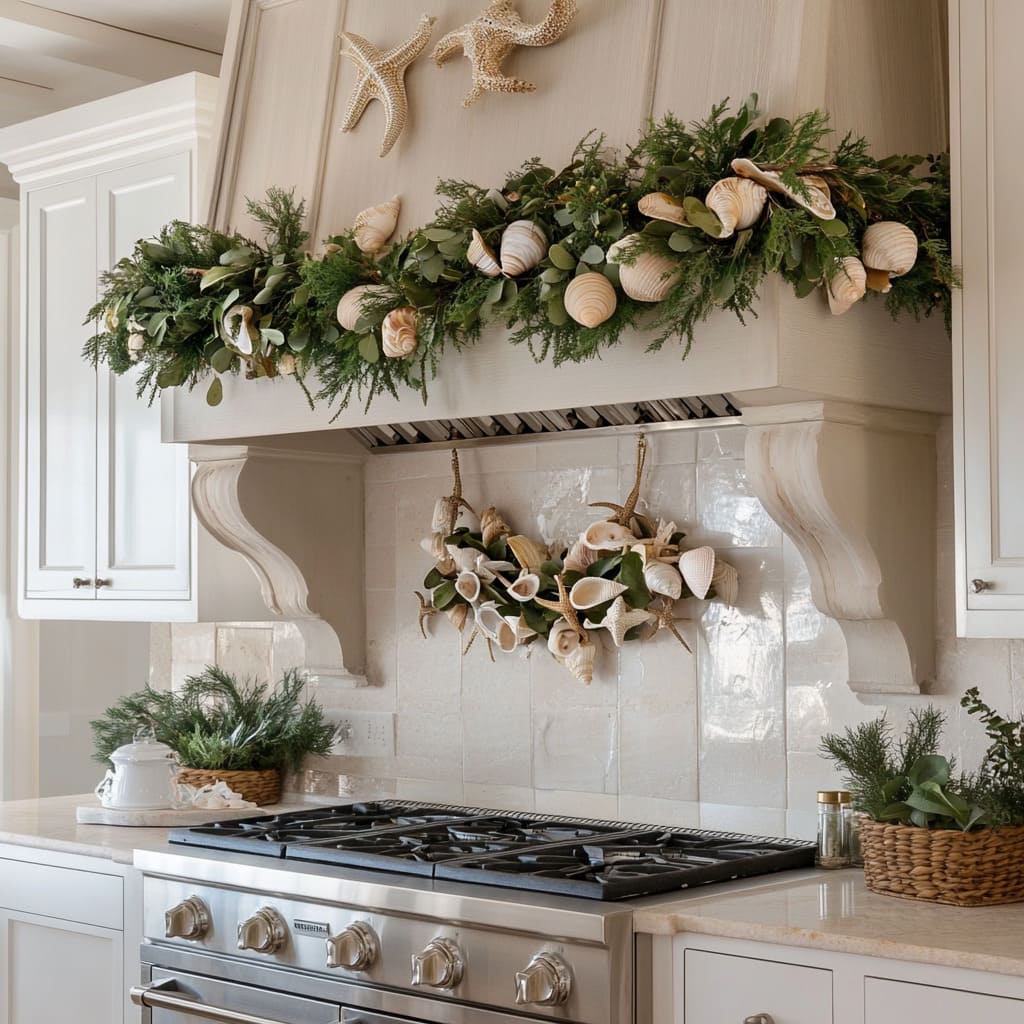
Shells do not want to sit in greenery; they roll out and shatter on tile. Hot-glue each one to a short floral wire pick first, then push the pick into the garland. It stays put, and you can pull the shells off in January without wrecking anything. Follow the arch of the hood too: garland should reach about one and a half times the width of the hood base at its widest point, so it frames the shape instead of strangling it.
18. Patterned Backsplash and Garland Under Open Shelves
The grey patterned tile is what makes this corner sing, and it is also the easiest thing to fake. Peel-and-stick patterned tile runs $30 to $90 for a backsplash this size and comes off without a trace when you redecorate. Bracketed open shelves: $30 to $60 each at IKEA or Walmart. Woven baskets at thrift stores average $4 to $12. You can get within 80 percent of this look for under $150.
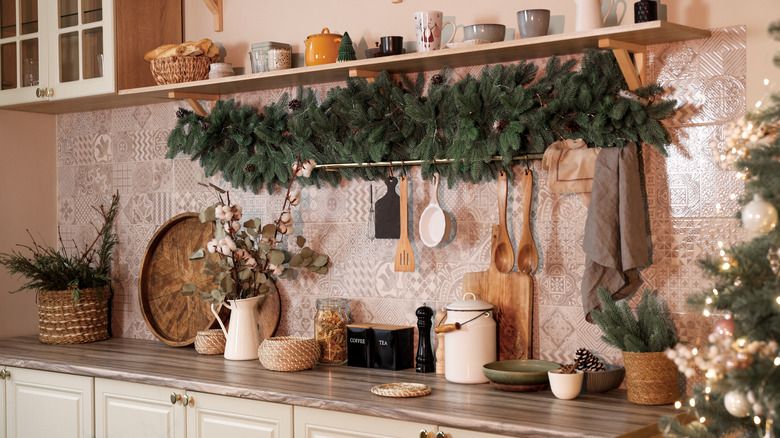
Garland tucked under open shelving needs at least 12 inches of clearance between the lowest shelf and the countertop, or you will knock your mug into it every morning. Give it 15 to 18 inches if you actually prep food there. The shelves themselves work best at 16 to 20 inches above the counter for the lowest tier. For a lighter take on the same idea, see Idea #20.
19. Shiplap Uppers with Garland Wrapped Over the Range
Shiplap upper cabinets give a warm white kitchen texture at eye level, where flat painted doors would read bland. Wrapping garland over the range hood gives the greenery a reason to be there — it frames the room’s focal point instead of floating in space. Then the brass hardware and the handful of red berries stop the whole thing from becoming an all-green affair.
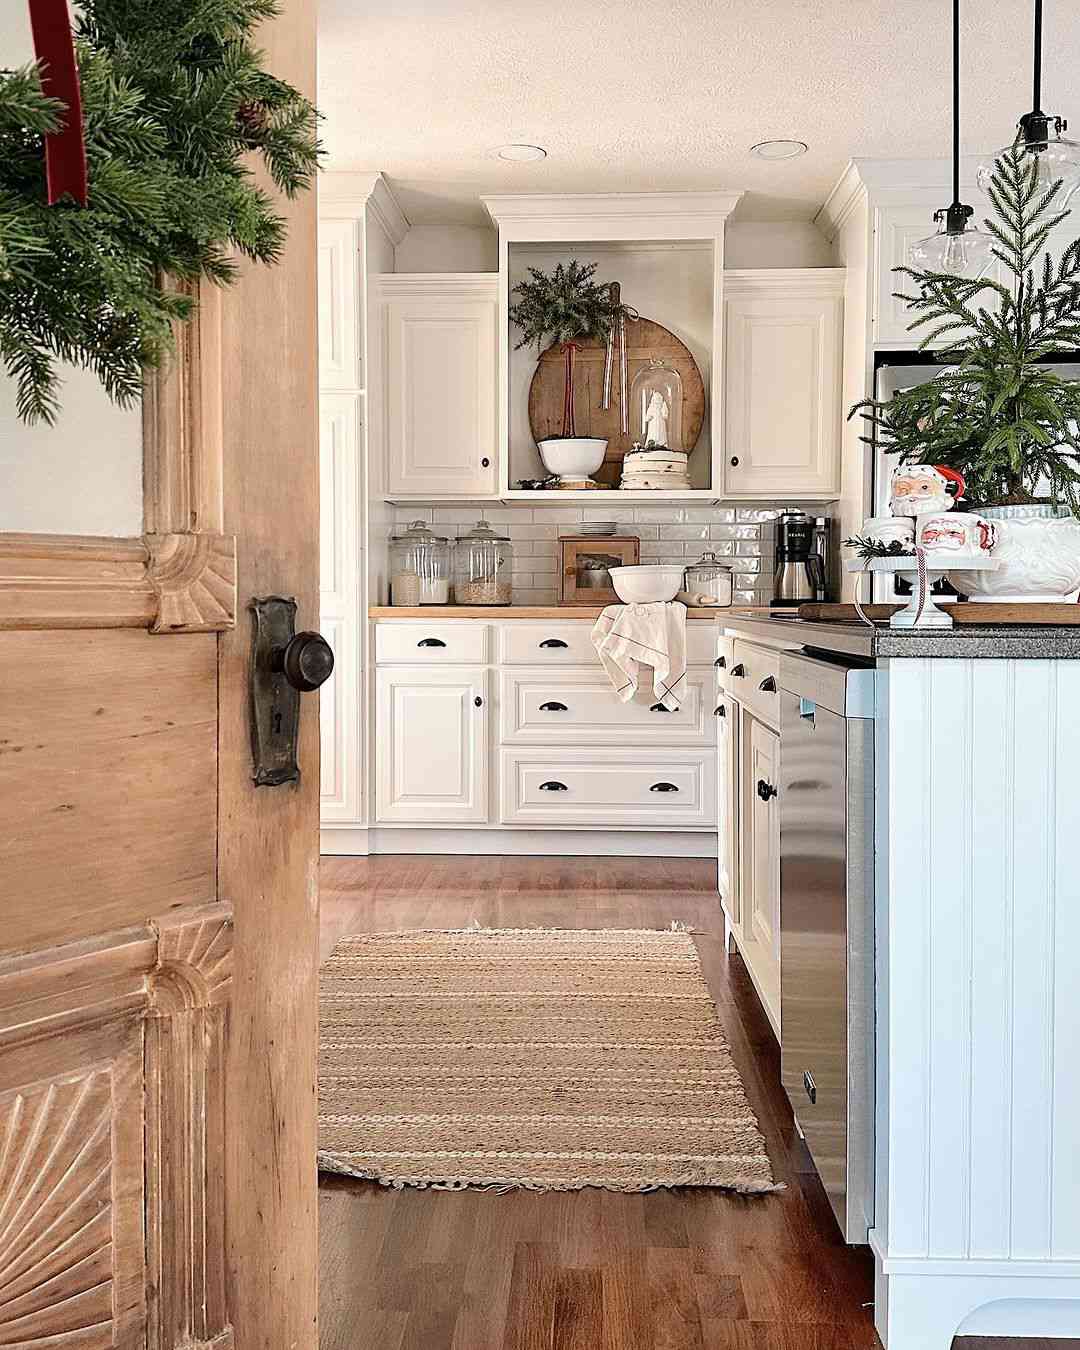
Here is the ratio: 55 percent warm white + 20 percent light wood + 15 percent forest green + 7 percent brass + 3 percent red. Notice how little red there is. Most people overdo the red and then wonder why their kitchen looks like a department store in November. Hold red to a garnish and let the green do the holiday work for you.
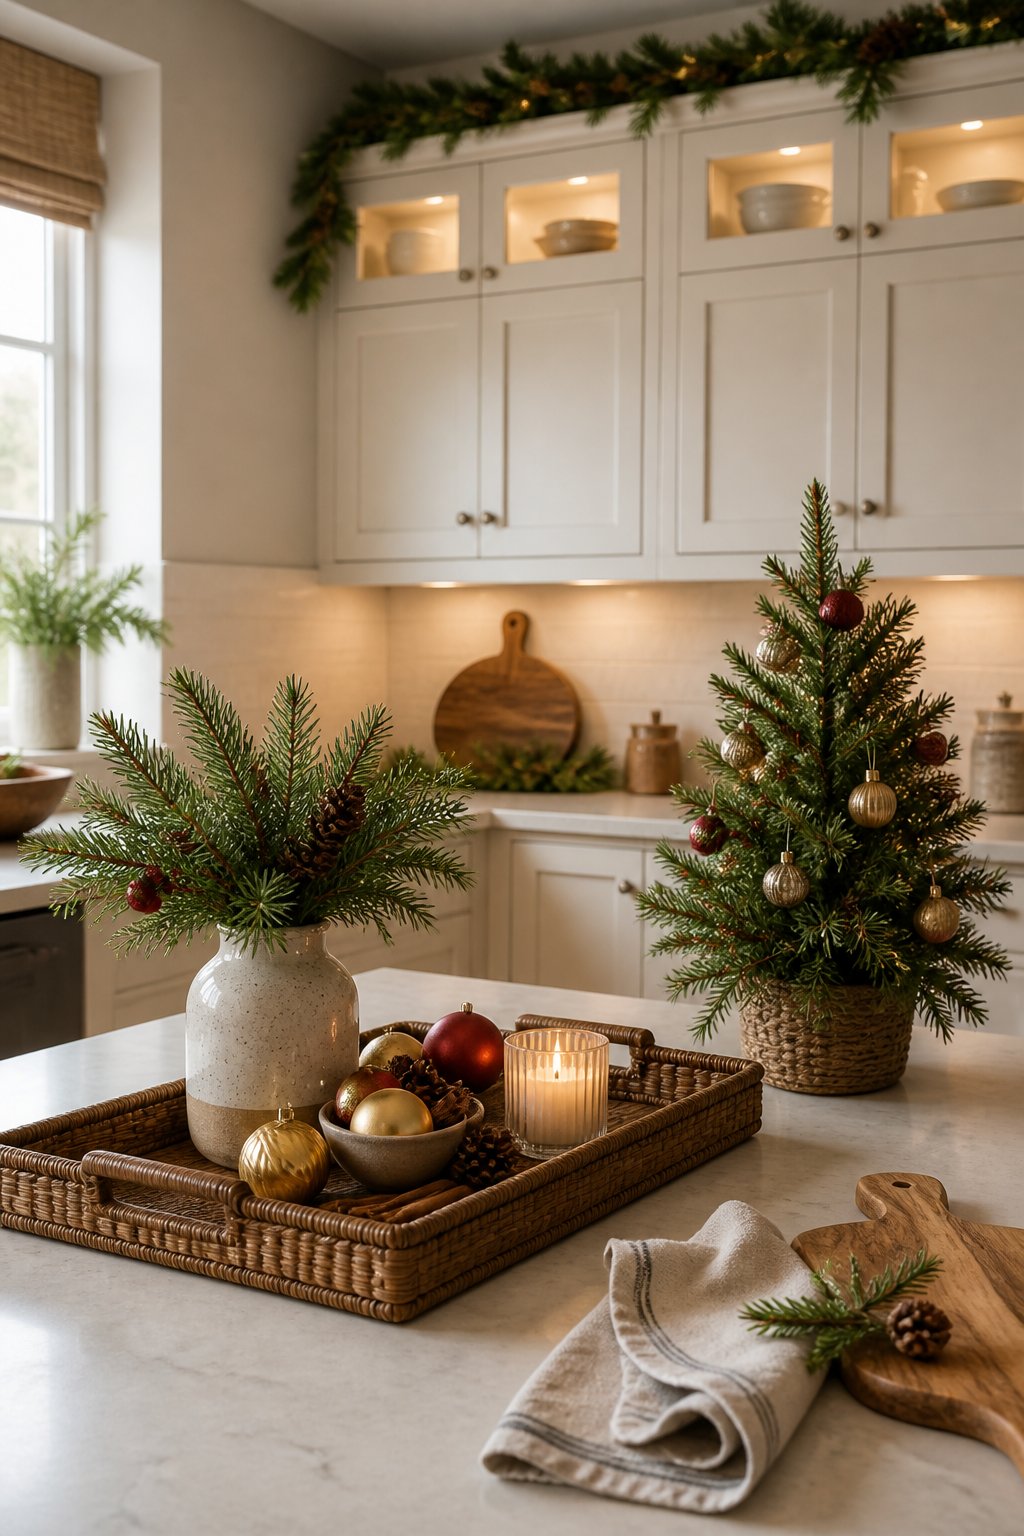
20. Woven Tray, Speckled Vase, One Lit Candle
The candle in the ribbed glass holder is the only warm light source at counter height in this whole vignette, and it is doing more than you would guess. The under-cabinet lights illuminate the surface; the candle lights the objects. Without it, the tray reads as a still life. With it, the speckled vase, the ornaments, and the pine all pick up a glow that makes the display feel alive after dark.
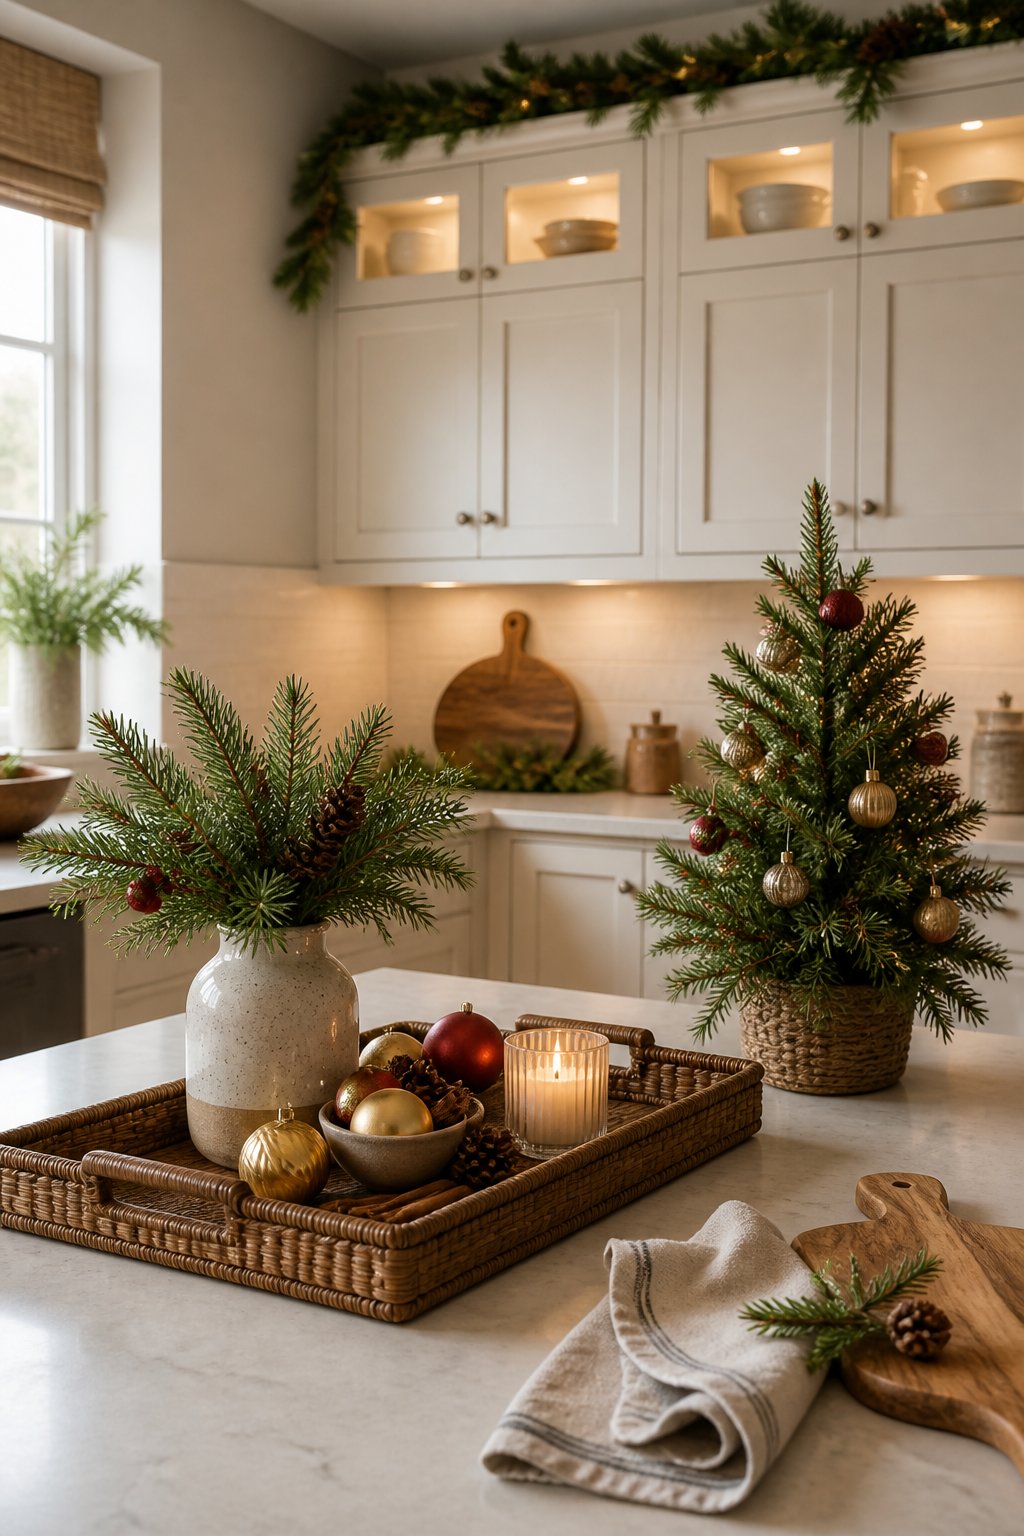
The whole tray comes in around $70 if you buy new: woven tray $18 at Target, speckled vase $12 at Walmart, ornaments $10 at a dollar store, candle $8, greenery $15. But this is the kind of display thrift stores were built for — tray, glass holder, and vase together often run $10 to $15 at Goodwill. Identical look, different receipt.
21. Window Wreath with Dried Orange Slice Garland
- Slice oranges a quarter inch thick and blot them dry.
- Bake at 200°F for two and a half to three hours, flipping once, until leathery and no longer sticky.
- Cool completely — anything damp will mold once it is on the garland.
- Thread twine through each slice with small gaps and tie off both ends.
- Drape it over a lit strand and hang the wreath so its center sits level with the window’s midpoint.
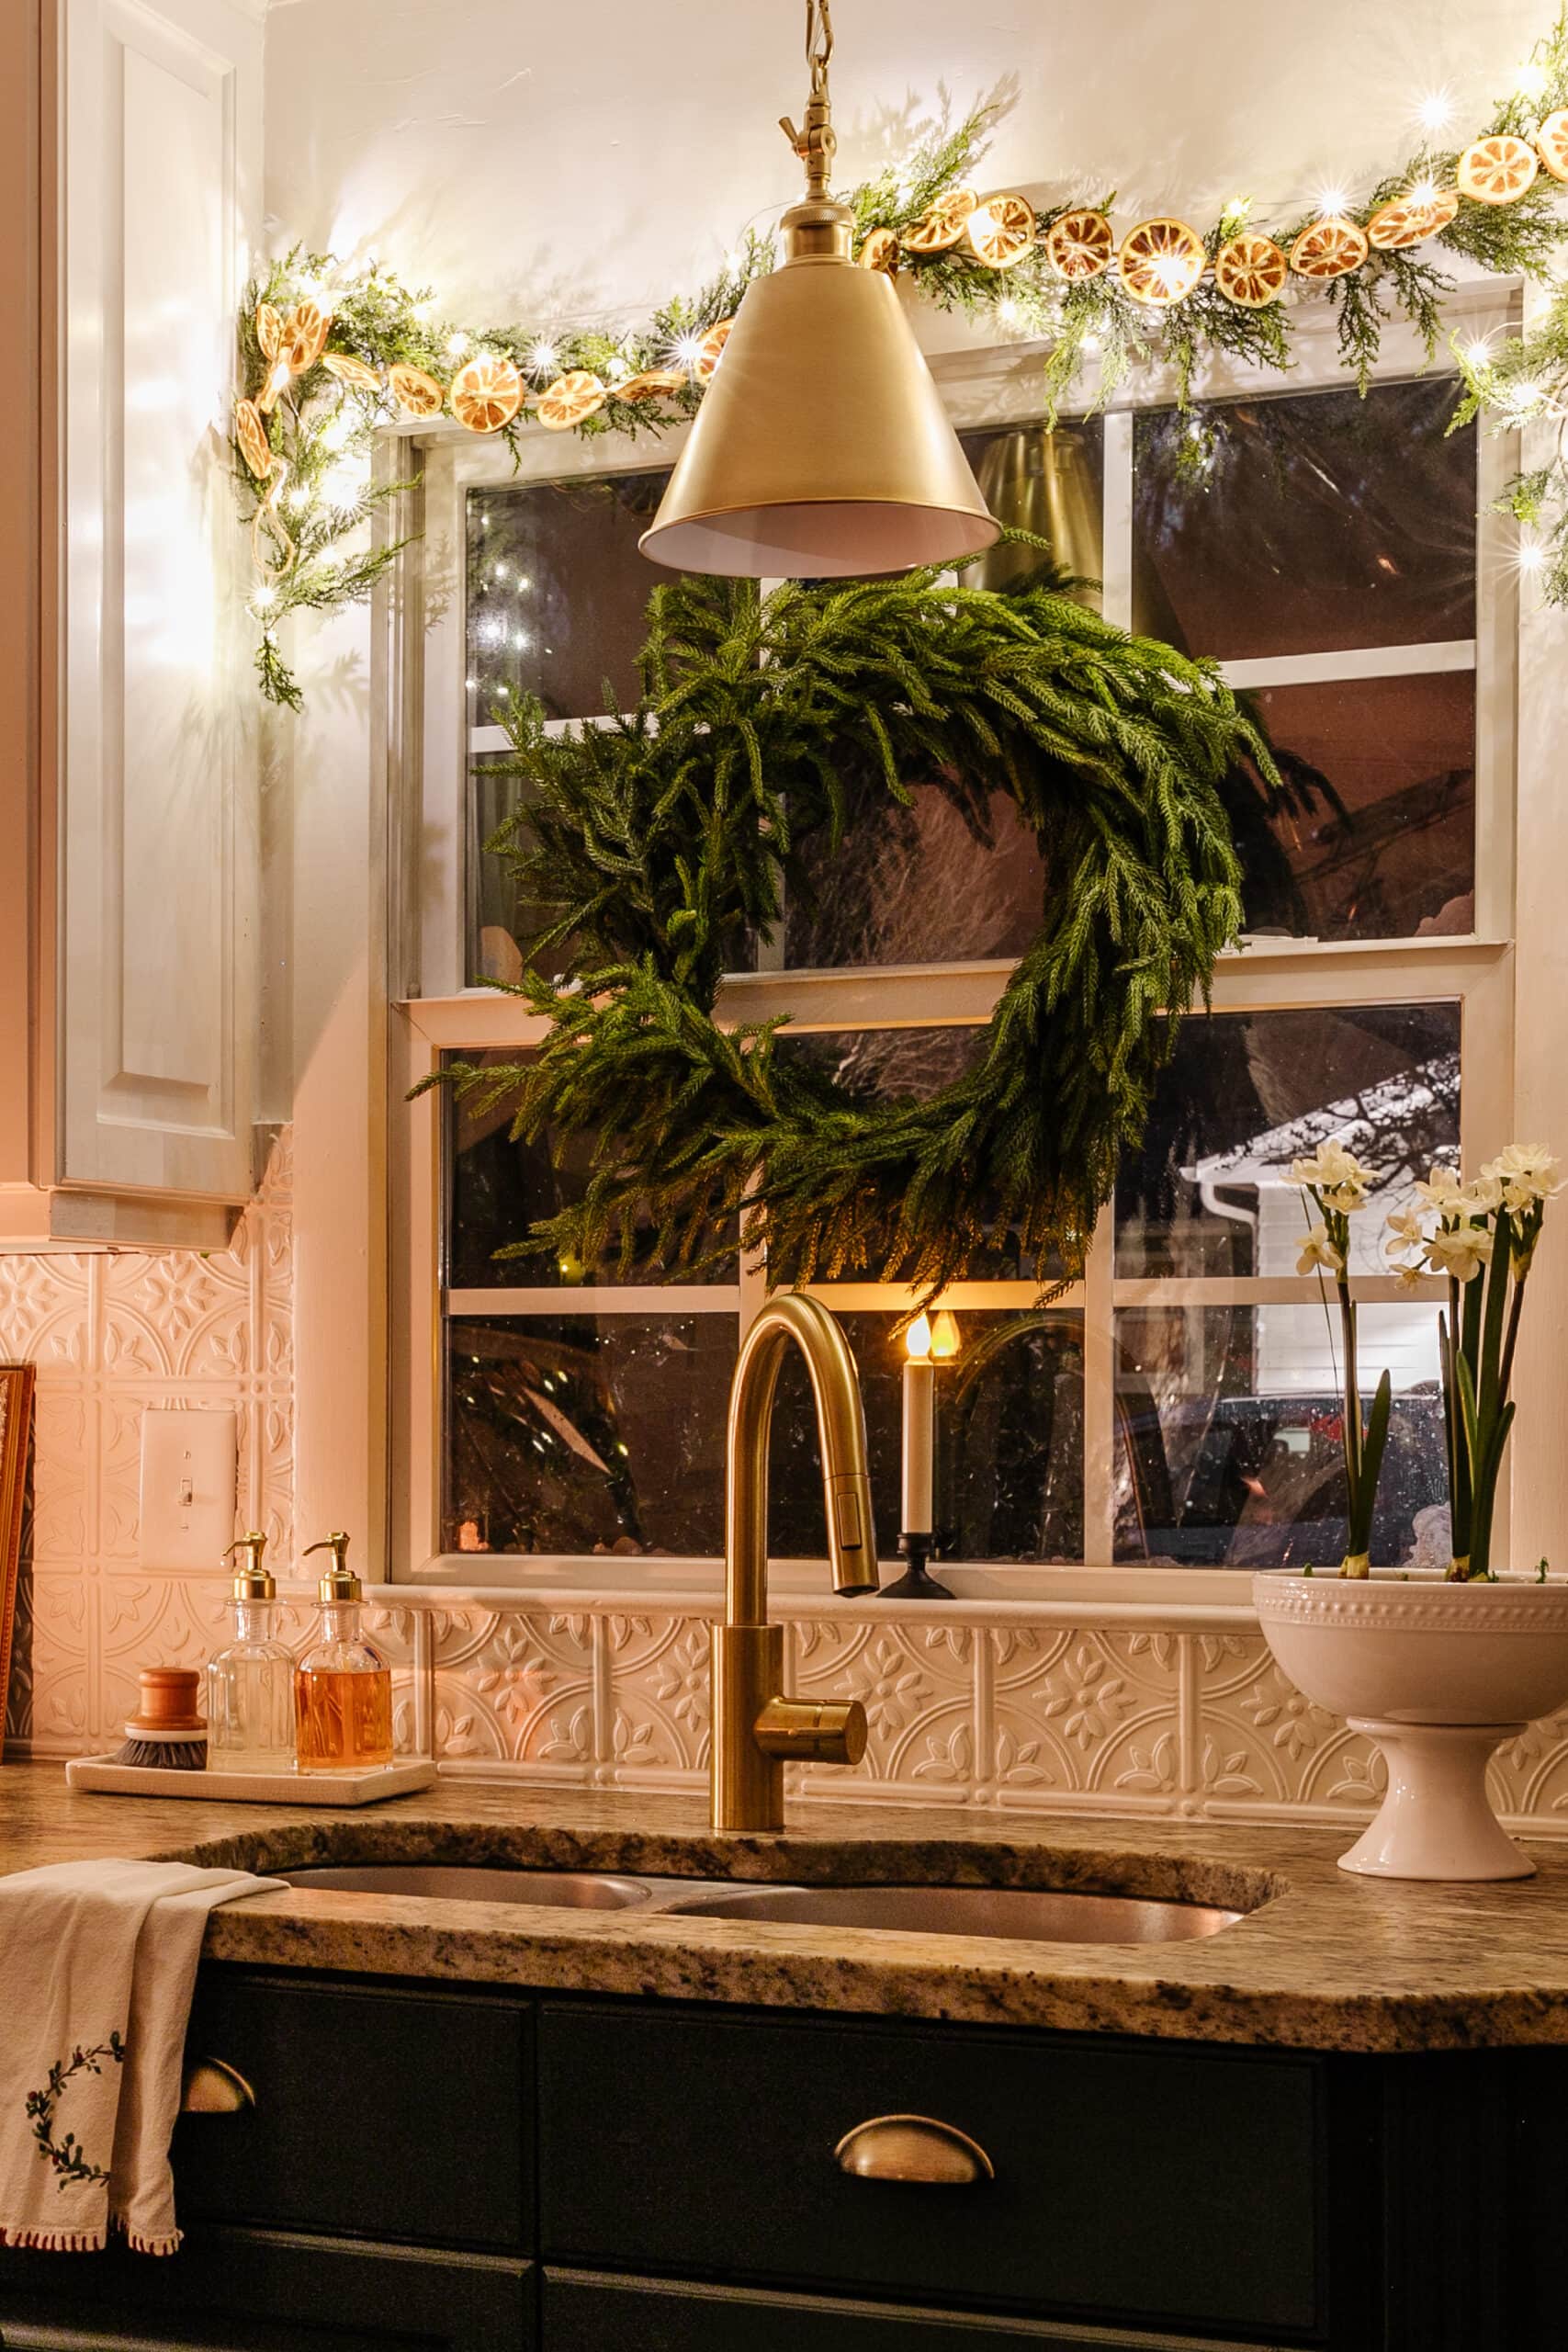
About four hours total, mostly oven time, and roughly $10 in materials.
Hang the wreath with ribbon looped over the window frame rather than a suction cup, because suction fails in a warm kitchen the week after you put it up. And let the brass faucet stay the star below — keep the garland on the window itself rather than draped down over the sink, so the metal remains visible. Brass and orange peel live in the same warm family.
22. Reclaimed Wood Island with an Integrated Copper Sink
Copper sinks are stunning and honest: they patina, they dent if you drop a cast iron pan, and they cost three to five times a stainless equivalent. Reclaimed wood islands can also harbor splinters and old finishes, so seal any raw surface before you set a cutting board down on it. If small kids use the island as a landing pad, this is a look to admire rather than commit to.
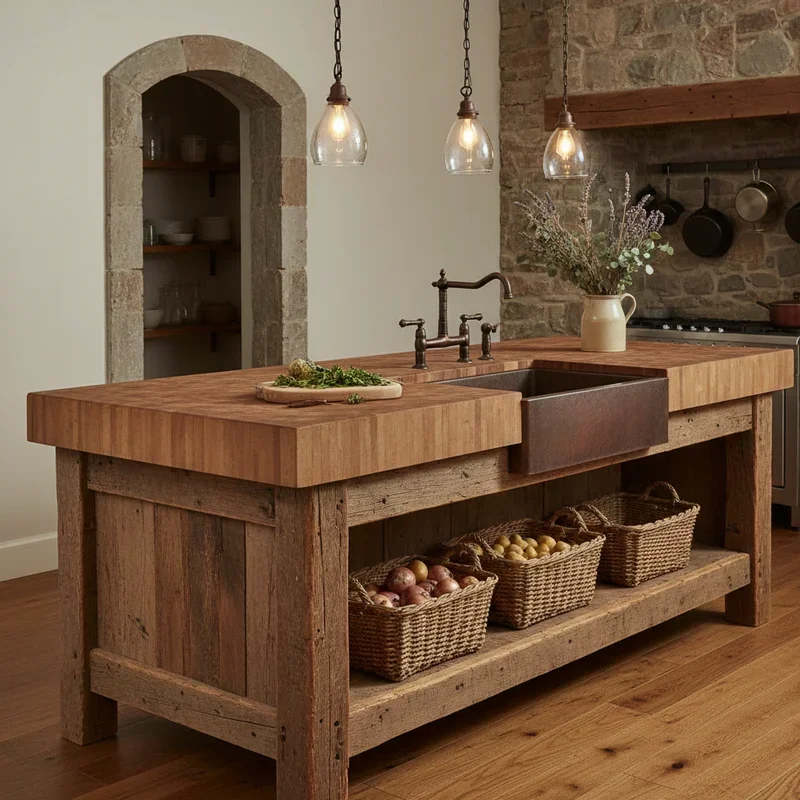
Butcher block wants oil every four to six weeks — about $12 a year in food-grade mineral oil. Copper wants a gentle polish every few months if you like shine, or nothing at all if you like patina. Natural stone walls need a soft brush monthly, since kitchen grease settles into the crevices and turns tacky. Honestly budget two hours a month for this kitchen’s upkeep.
23. Amber Glass Vase and Dried Oranges on a Round Table
This table runs about 50 percent amber and orange + 25 percent pine green + 15 percent light wood + 10 percent copper. Amber is the connector — it echoes the dried orange slices, the vase, the taper candles, and the copper pots on the wall, so a fairly busy corner reads as one thought instead of five. Swap the amber for clear glass and the whole thing goes cool and slightly clinical.
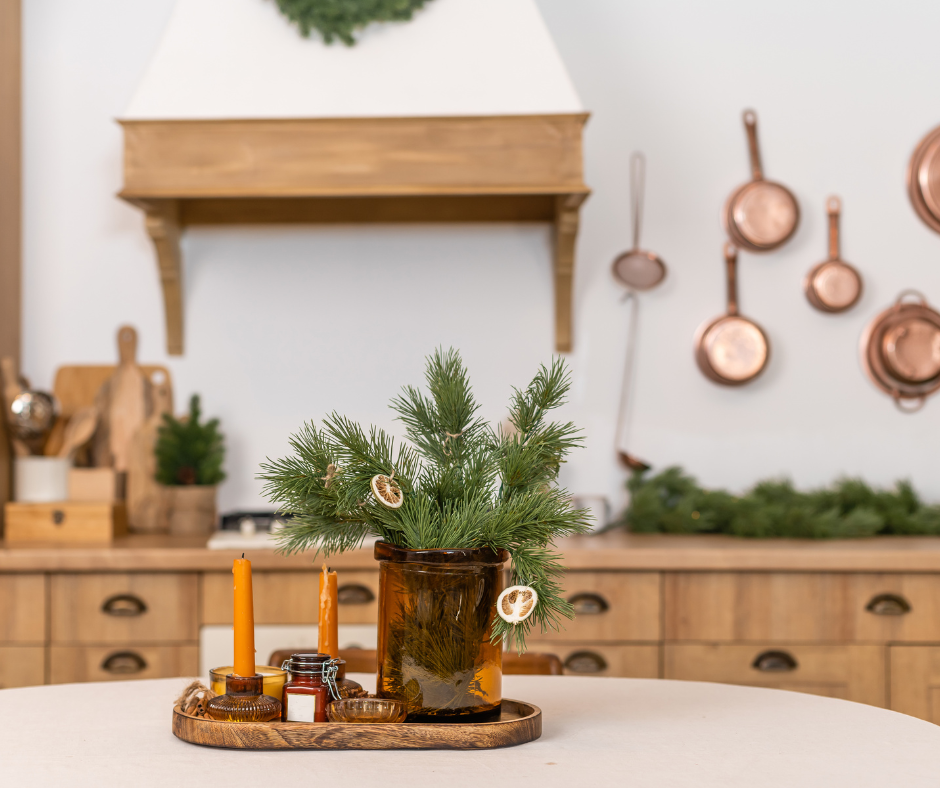
The amber glass vase is the smallest expensive-feeling detail here and the one to keep if you keep only one. It catches candlelight, ties the orange slices to the copper pots, and costs $15 to $30. On a round table, a wooden tray underneath does double duty: it defines the centerpiece and lets you lift the entire arrangement off in a single move when dinner is ready.
24. White Brick Wall, String Lights, Teal Tapers
- Check whether your brick is sealed or raw — sealed brick rejects adhesive hooks, and raw brick sheds and needs a masonry bit.
- Count your outlets before planning the string lights; you want one within reach of the rail.
- Measure the table and leave 36 inches to the nearest wall so chairs can pull out.
- Confirm the rail height clears your tallest standing item on the counter.
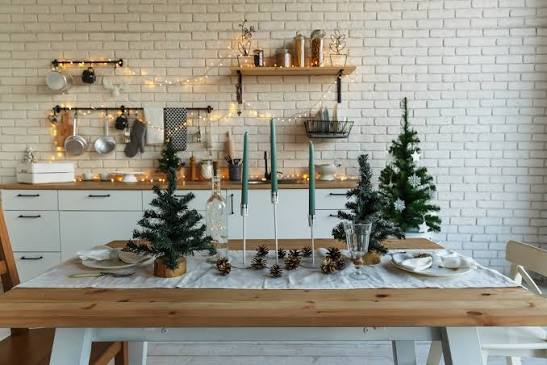
Real painted brick is a renovation. Peel-and-stick brick wallpaper runs $30 to $80 for a wall this size and looks surprisingly convincing behind a shelf. String lights: $10 to $20. Black metal rails: $15 to $30 each at IKEA. Teal tapers: $6 a pair. The whole scene lands under $200 — and it is the warmer, more personal cousin of the formal table in Idea #31.
25. A Wooden Sled Loaded with Plaid Gifts Above the Island
Hanging nostalgic objects from the ceiling — sleds, skates, old toboggans — is one of the fastest-growing holiday searches, and it is easy to see why. It uses vertical space that usually sits empty, it costs nothing if you already own the sled, and it triggers a very specific childhood memory. Expect this one to outlast 2026, because it is not a color trend. It is sentiment.
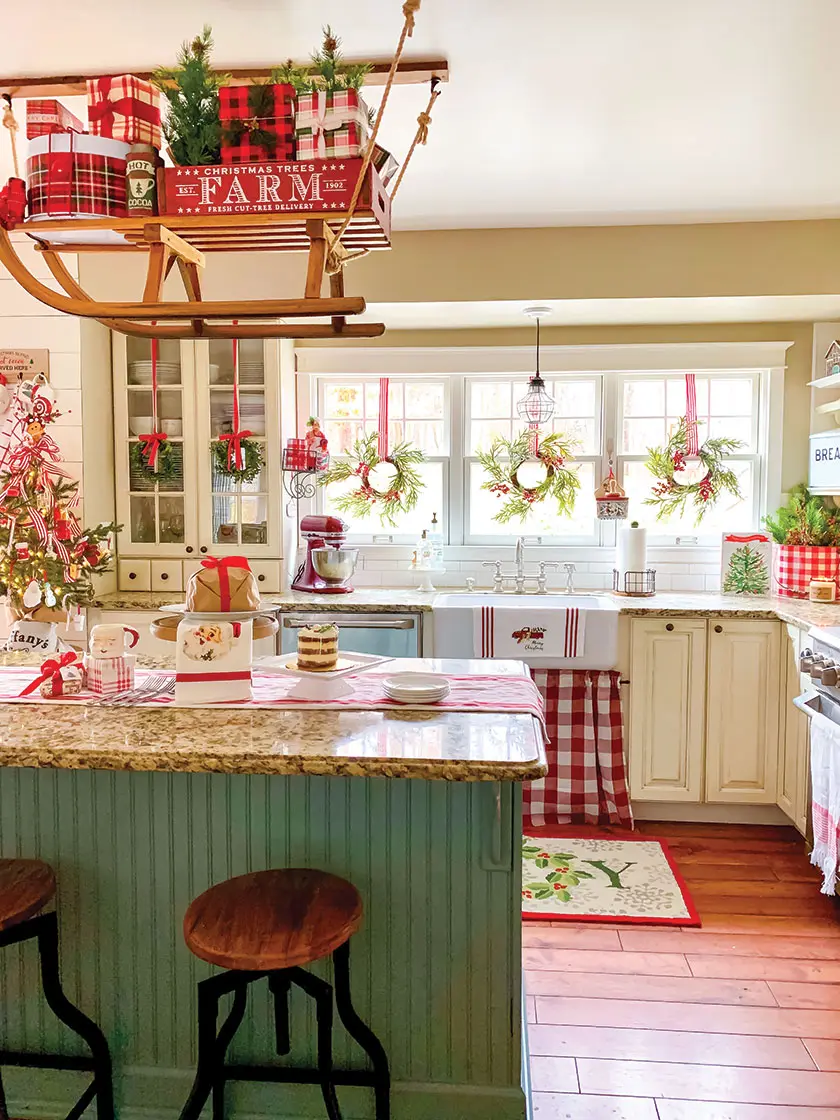
Ceiling height is non-negotiable here. You need at least 9-foot ceilings, and the lowest point of the sled should hang no lower than 78 to 80 inches above the floor so nobody clips it. Window wreaths on a standard 36-inch window look right at 12 to 14 inches across, roughly a third of the window height. Under 8-foot ceilings, skip the sled and hang the wreaths only.
26. Tiered Tray Centerpiece Against Shiplap
- Build from the bottom: place the largest item, a small tree or a stack of houses, on the lowest tier, off center.
- On the middle tier, group three ceramic houses in different heights.
- The top tier gets one tall, thin item — a bottlebrush tree or a single sprig in a bud vase.
- Weave a short piece of garland around the center post, not across the tiers.
- Step back. If a tier looks empty, add height, not more objects.
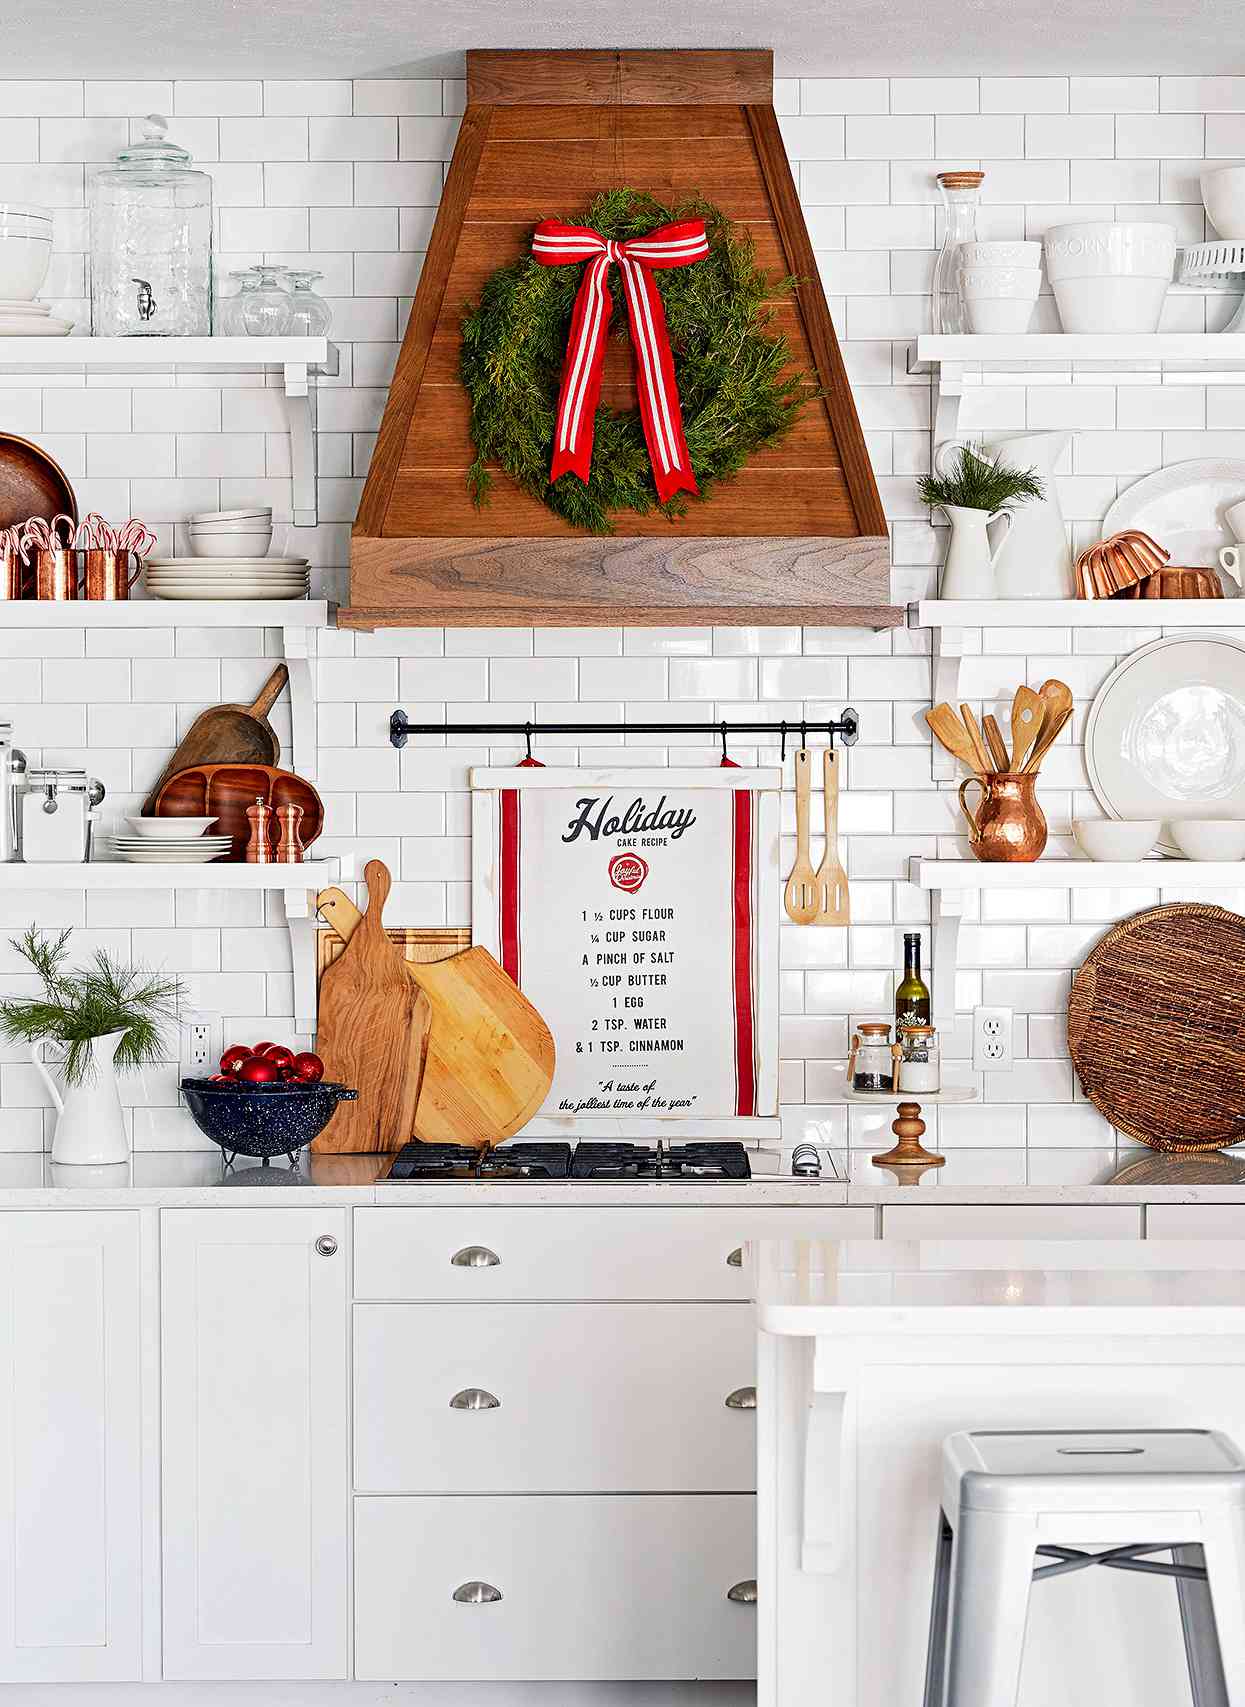
Thirty minutes, and most of it is rearranging.
- Three-tier tray: $25–$60
- Three miniature trees: $18–$60
- White ceramic houses, set of three: $20–$45
- Garland and loose sprigs: $10–$30
- Cutting boards for the base layer: $15–$50
- Total: $88–$245
Budget alternative: tiered trays are everywhere secondhand at $8 to $15, and dollar-store mini trees look fine once you fluff the branches.
27. Candy Canes and a Conical Tree on a Dark Wood Island
Candy canes and humid kitchens are enemies. Sugar pulls moisture from the air, gets tacky, and eventually slumps into a sticky puddle on your light countertop. If you love the look, stand them upright in a small glass jar so they only touch glass, keep them clear of the dishwasher, and plan to replace them after about ten days. Or buy the plastic ones and nobody will know from three feet away.
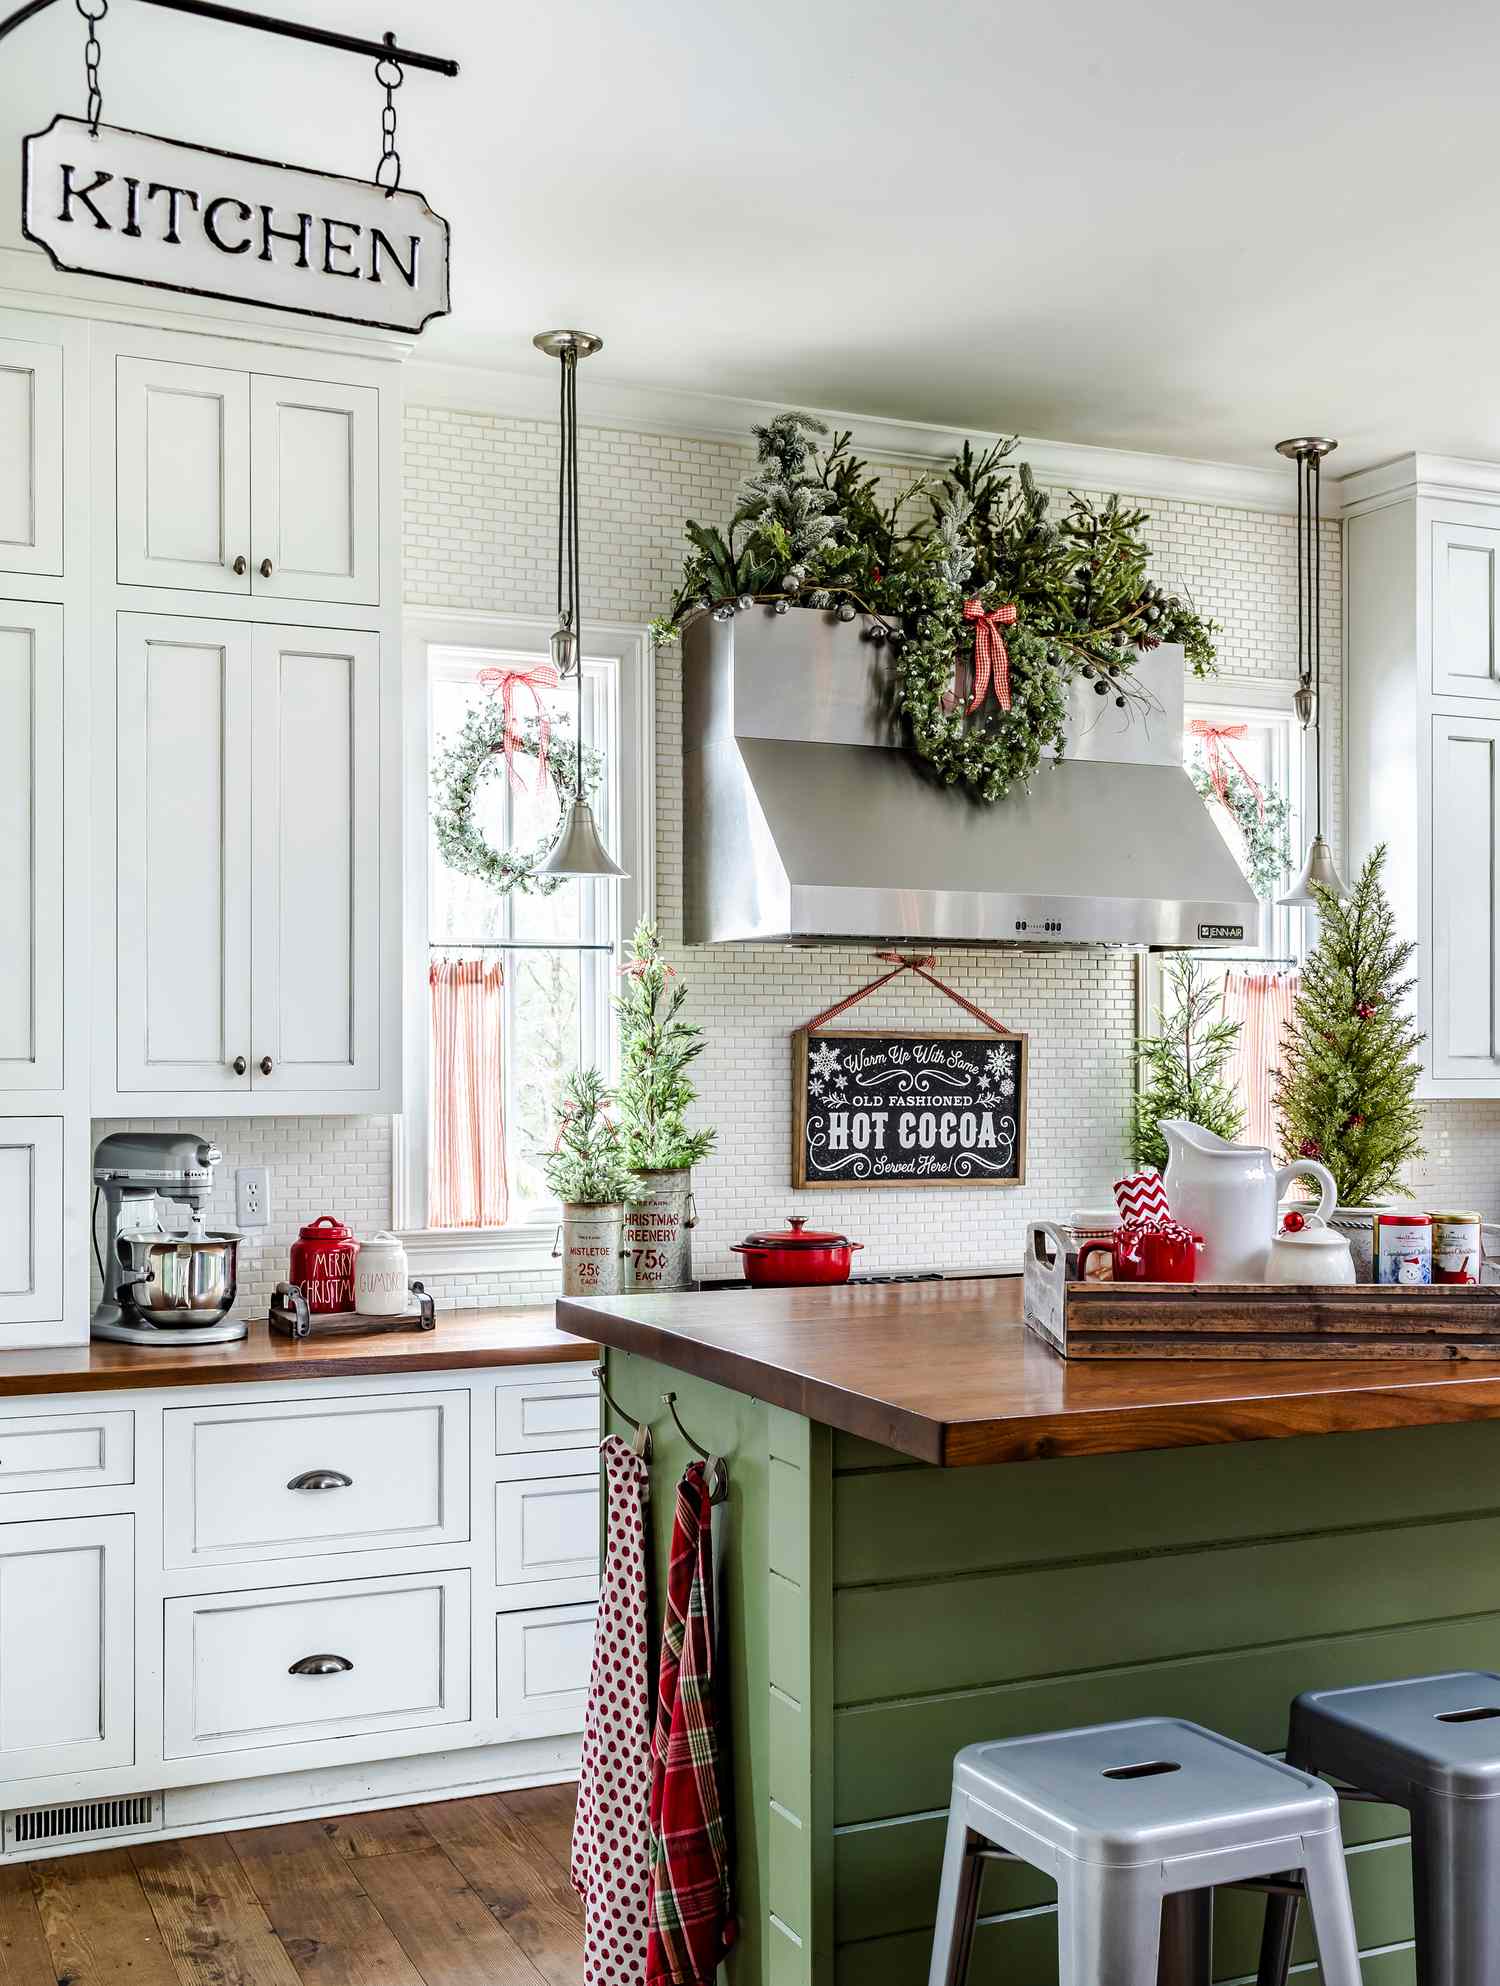
On a dark island, pick one light-colored object to anchor the display — here it is the white vase of greenery — and build outward from it. Keep the centerpiece under 14 inches tall if people sit at the island, and always arrange in odd numbers. Three elements, or five, never four. It is a small rule that makes an arrangement look composed instead of merely placed.
28. Lit Garland Draped Over the Cabinet Tops
Garland on top of the cabinets is beautiful from across the room and invisible to a sponge. It collects kitchen grease, which means a faux garland up there needs a wipe-down with diluted dish soap once a year and eventually gets retired. If you use lights, choose a plug-in strand with a timer. You will save roughly $15 to $25 a season in batteries and never climb a step stool to switch it on.
Warm white only — that is the whole 2026 lighting story. Daylight-white LEDs are being swapped out for 2700K everywhere, because warm light photographs better and reads like candlelight in a way cool light simply cannot fake. The other shift is quieter: fewer pieces, better ones, reusing last year’s greenery and adding only what you genuinely love.
29. Small Green Wreaths Tied to Rattan Bar Stools
The wreaths are the obvious play; the gold ribbon is the actual trick. A plain wreath tied with twine reads like a craft project, while a slim gold ribbon turns it into something that looks purchased as a set with the brass hardware and the marble island. Take the ribbon away and the stools are merely decorated. Keep it, and the whole kitchen feels considered.
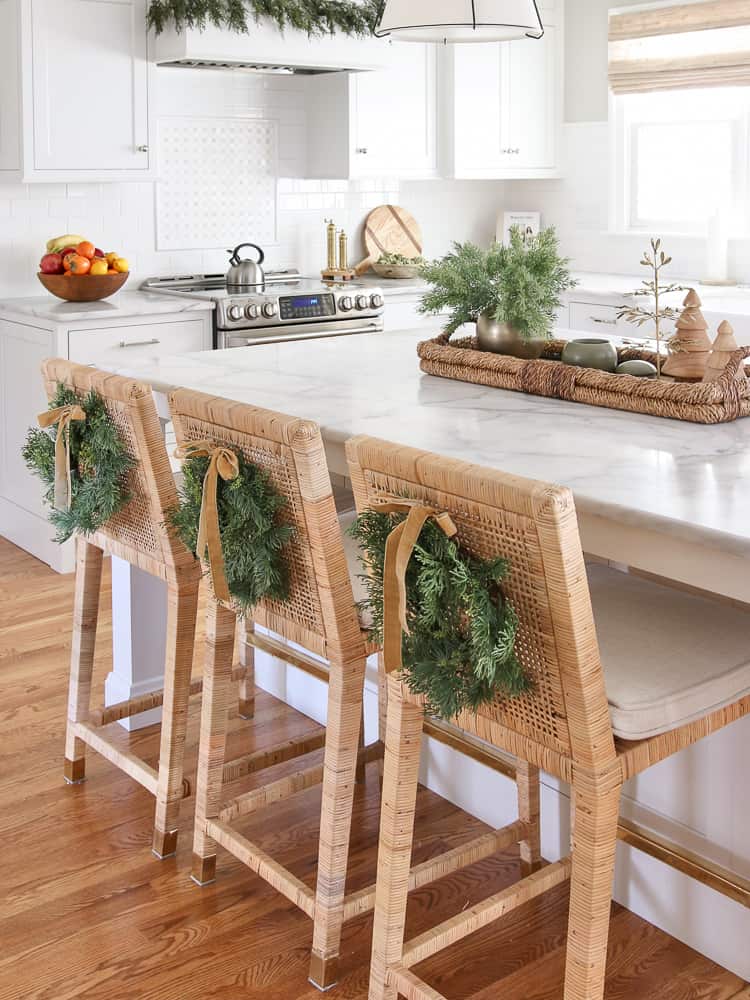
On a barstool back, keep wreaths to 4 to 6 inches across or they interfere with sitting. For the island itself, you want 42 inches between the island edge and perimeter counters when stools are in use, or 36 if the stools tuck fully underneath. This look suits kitchens of 150 square feet and up; in anything tighter, copy the smaller stocking setup in Idea #5.
30. Garland Around the Island Base
The formula: 65 percent white + 20 percent light wood + 10 percent green + 5 percent brown (pinecones, basket weave, the darker wood of the tray). What keeps it from looking like a craft fair is restraint — the garland is the only green, and everything on the countertop is white or wood. Want it warmer? Swap the white pitcher for a cream ceramic one. Do not add red.
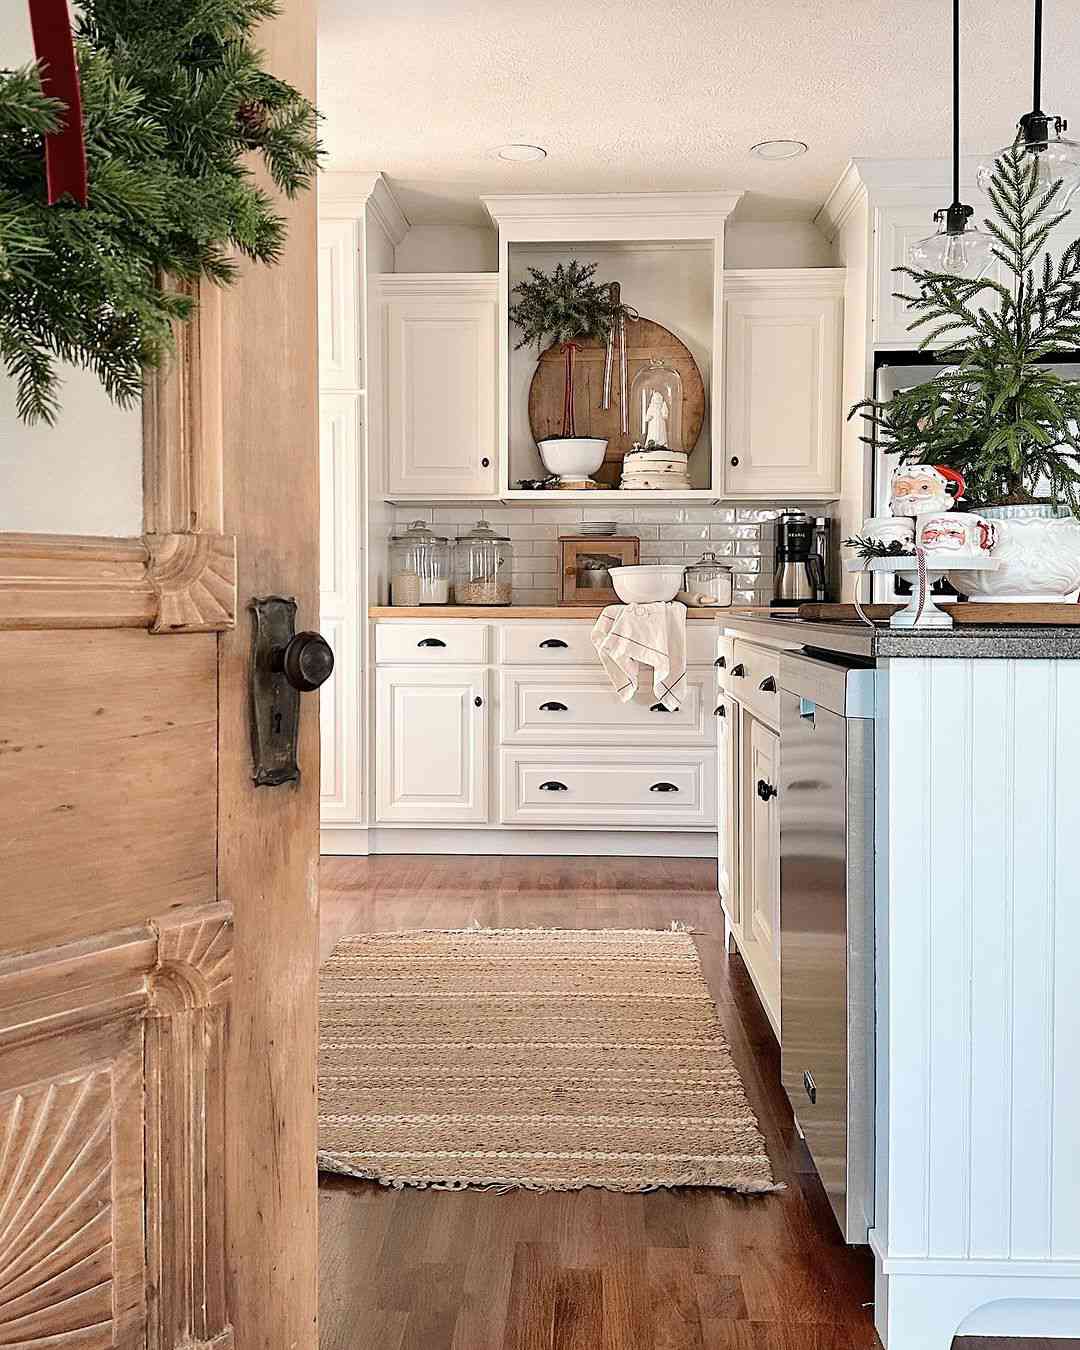
- Measure the island’s perimeter and multiply by 1.5 for garland length — anything less looks skimpy.
- Check whether kids or dogs brush past the garland; if so, secure it with zip ties, not wire.
- Confirm an outlet near the island base if you want lights.
- Make sure the garland clears the floor by at least 2 inches so it does not wick up mop water.
31. Plaid Runner and a Wooden Trough Centerpiece
The plaid runner is doing structural work: it narrows a long table visually and ties the table back to the lit tree in the next room. The wooden trough repeats the table’s finish, so the centerpiece looks like it belongs rather than arrived. And the sage green candles are the reason the whole thing never tips into candy-cane territory — one cool green against all that red is a genuinely smart move.
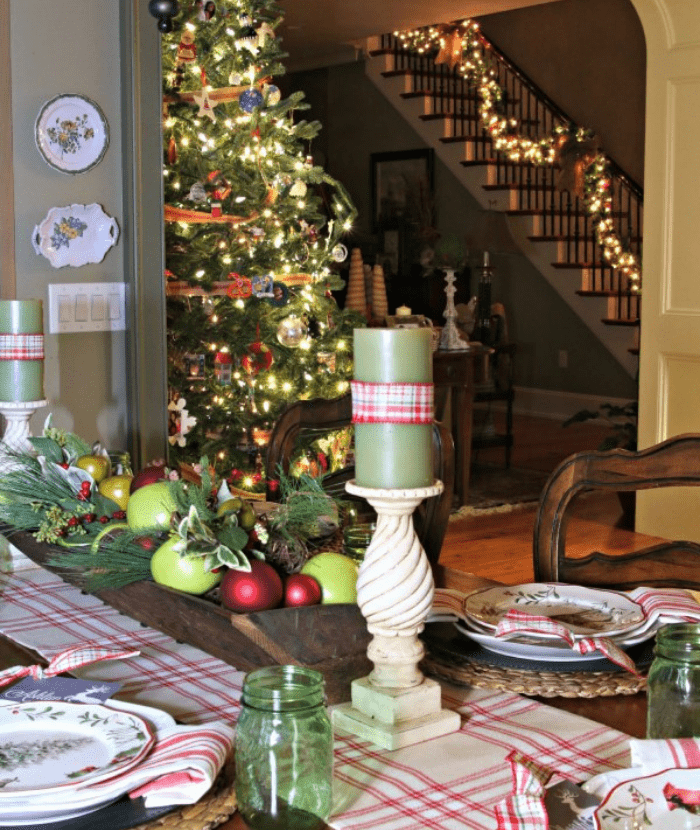
Runner dimensions matter more than people think. On a standard 40-inch-wide dining table, a 14- to 16-inch runner leaves room for place settings and looks intentional; wider and it becomes a tablecloth. Let it overhang 6 to 8 inches at each end. Candles should sit 6 to 9 inches tall so they stay below eye level once everyone is seated — taller and you are talking through a forest.
Warm Lights, Green Branches, and Whatever You Already Own
You do not need a new kitchen or a fresh bin of decor every November. Pick one or two ideas from this list, use the greenery you already have, and let warm white light do the heavy lifting. 📌 Save this to Pinterest for later — you will want to revisit these ideas next December, and the one after that.